Security and privacy are critical aspects of mobile applications. Apple’s LocalAuthentication framework enables developers to integrate biometric authentication like Face ID and Touch ID, along with device passcode authentication, to enhance security within their apps. In this article, we’ll explore how to use LocalAuthentication in SwiftUI to authenticate users with biometrics and device passcodes.
Setting Up LocalAuthentication
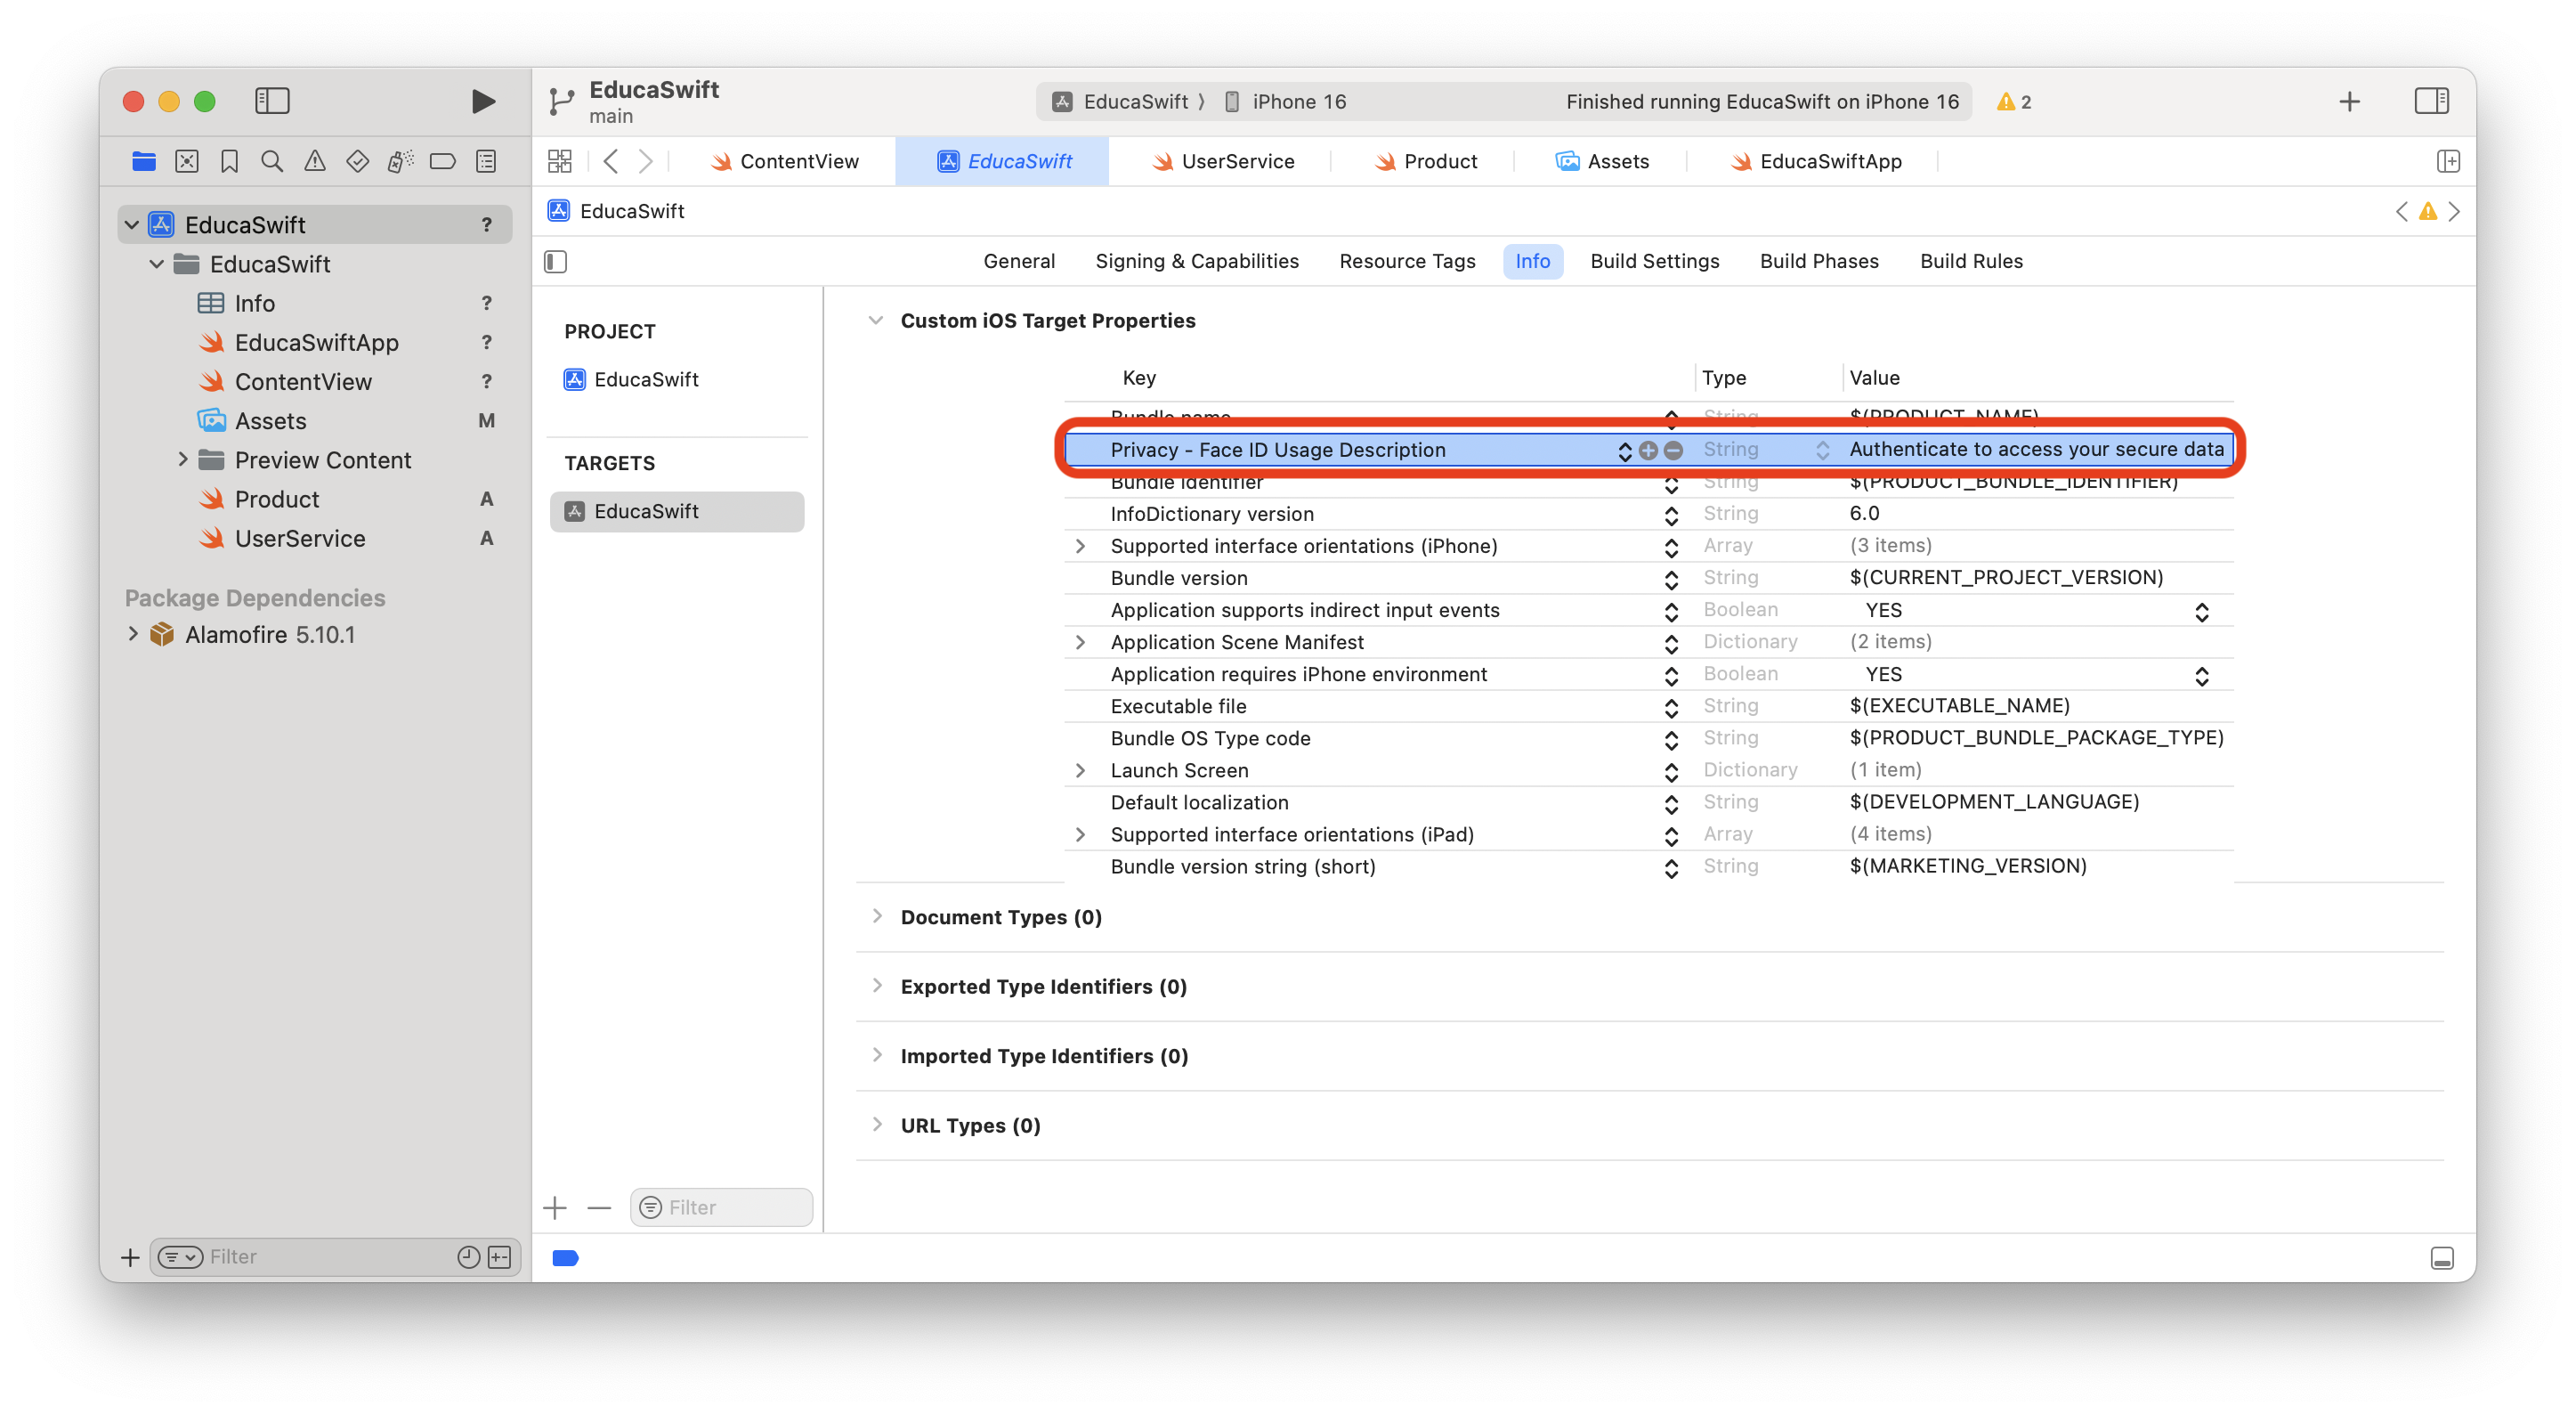
Before start using LocalAuthentication we need to add a new key to our info.plist file: NSFaceIDUsageDescription. This is just a string that should describe the use we are going to give it in our app:
Then we are ready to use the LocalAuthentication framework in our SwiftUI view. In order to do this we need to import the framework on each view that we are going to use it.
import SwiftUI
import LocalAuthentication
Authentication Check
In LocalAuthentication, we use an instance of LAContext to manage authentication. This context checks for the availability of biometric capabilities on the device and initiates the authentication request. Here’s a sample structure for setting up basic authentication:
struct ContentView: View {
    @State private var isAuthenticated = false
    @State private var authenticationError: String?

    var body: some View {
        VStack {
            if isAuthenticated {
                Text("Welcome! You are authenticated.")
            } else {
                Button("Authenticate") {
                    Task {
                        await authenticateUser()
                    }
                }
                .padding()

                if let error = authenticationError {
                    Text(error)
                        .foregroundColor(.red)
                        .padding()
                }
            }
        }
    }

    func authenticateUser() async {
        let context = LAContext()
        var error: NSError?

        if context.canEvaluatePolicy(.deviceOwnerAuthenticationWithBiometrics, error: &error) {
            let reason = "Authenticate to access your secure data"

            do {
                isAuthenticated = try await context.evaluatePolicy(.deviceOwnerAuthenticationWithBiometrics, localizedReason: reason)
            }
            catch let error {
                self.authenticationError = error.localizedDescription
            }
        } else {
            authenticationError = "Biometric authentication is not available"
        }
    }
}
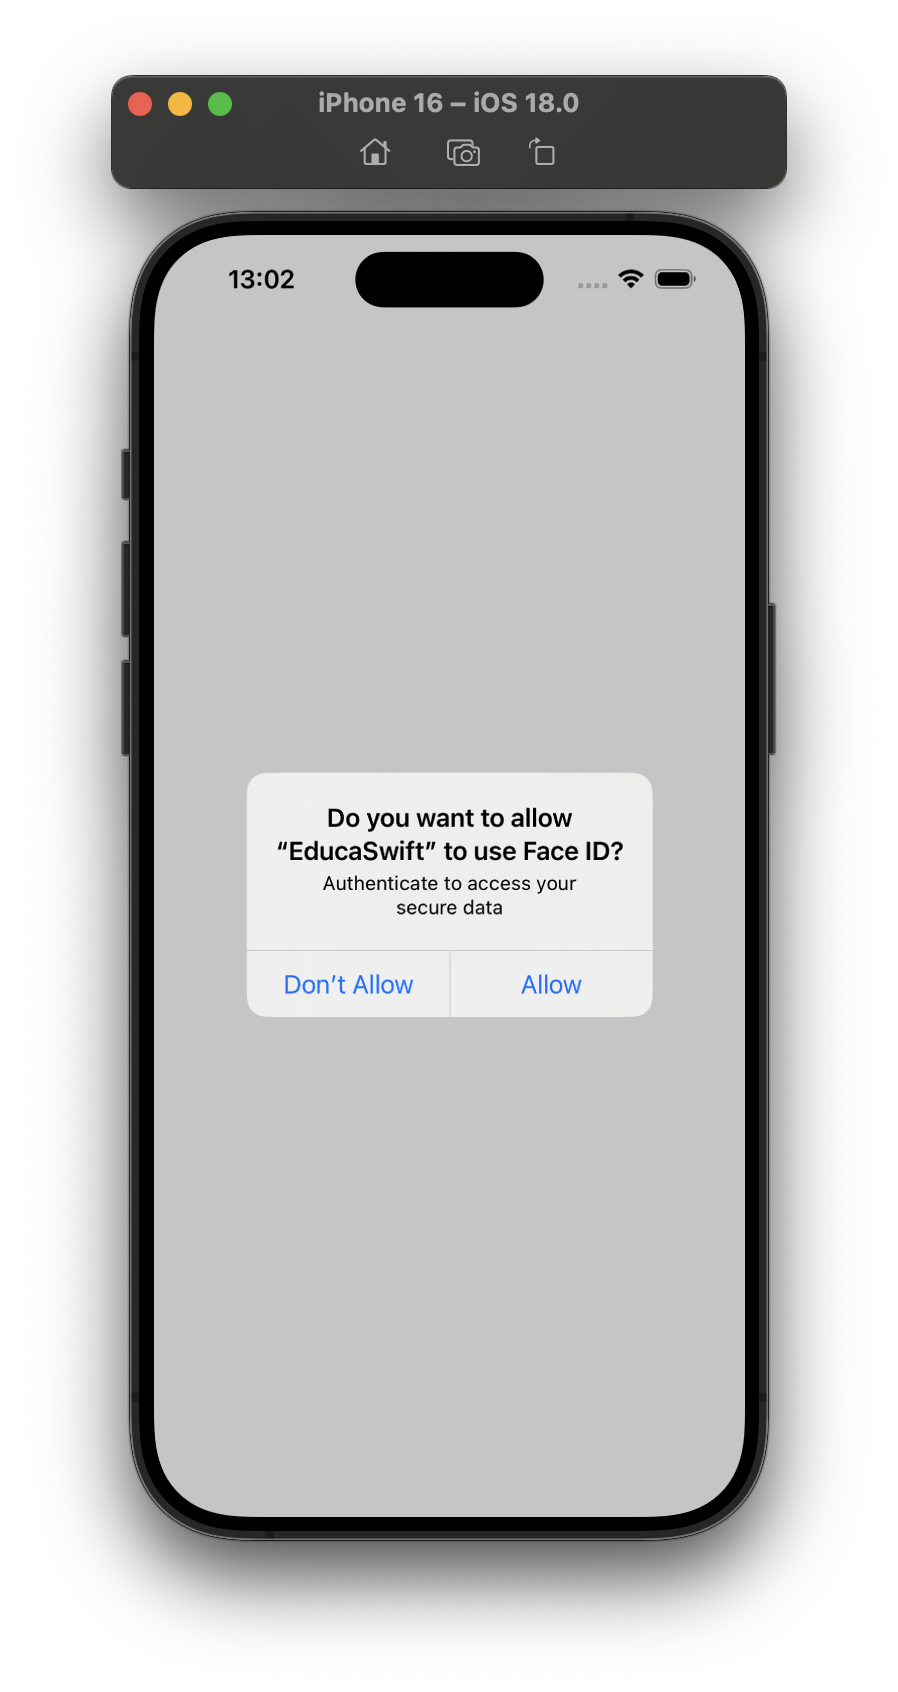
The first time we try to trigger the authentication check, the system will show the premission dialog automatically to the user.
Test on Simulator
You can test Fade ID on a simulator activating the option Features->Face ID->Enrolled, then when authentication is checked, the simulator will wait for you to trigger Matching face or Non-matching face option on the same menu:
Handling Authentication Policies
The LocalAuthentication framework provides different policies for authentication, such as:
deviceOwnerAuthenticationWithBiometrics: Uses biometric authentication (Face ID or Touch ID).deviceOwnerAuthentication: Uses biometric authentication or falls back to device passcode if biometrics are unavailable.
If you want to allow both biometrics and passcode, use deviceOwnerAuthentication instead:
context.canEvaluatePolicy(.deviceOwnerAuthentication, error: &error)
This way, if biometrics fail or are not available, the system will prompt the user to enter their device passcode.
Handling Errors
When an authentication attempt fails, the LAContext provides an error object with details about why the authentication failed. Here’s a list of common errors:
LAError.authenticationFailed: The user failed to authenticate successfully.LAError.userCancel: The user canceled the authentication.LAError.userFallback: The user chose to enter a password instead.LAError.biometryNotAvailable: The device does not support Face ID or Touch ID.LAError.biometryNotEnrolled: The user has not enrolled in Face ID or Touch ID.
You can use these errors to provide specific feedback to the user. For example:
if let error = authenticationError {
    switch error.code {
    case .authenticationFailed:
        authenticationError = "Authentication failed. Please try again."
    case .userCancel:
        authenticationError = "Authentication canceled."
    case .biometryNotAvailable:
        authenticationError = "Biometric authentication not available on this device."
    default:
        authenticationError = error.localizedDescription
    }
}
Be the first to comment