SwiftUI provides a powerful Map view that allows developers to integrate maps into their applications with ease. In this article, we will explore how to use the Map view in SwiftUI, customize it with annotations, and enable user location tracking.
Displaying a Basic Map
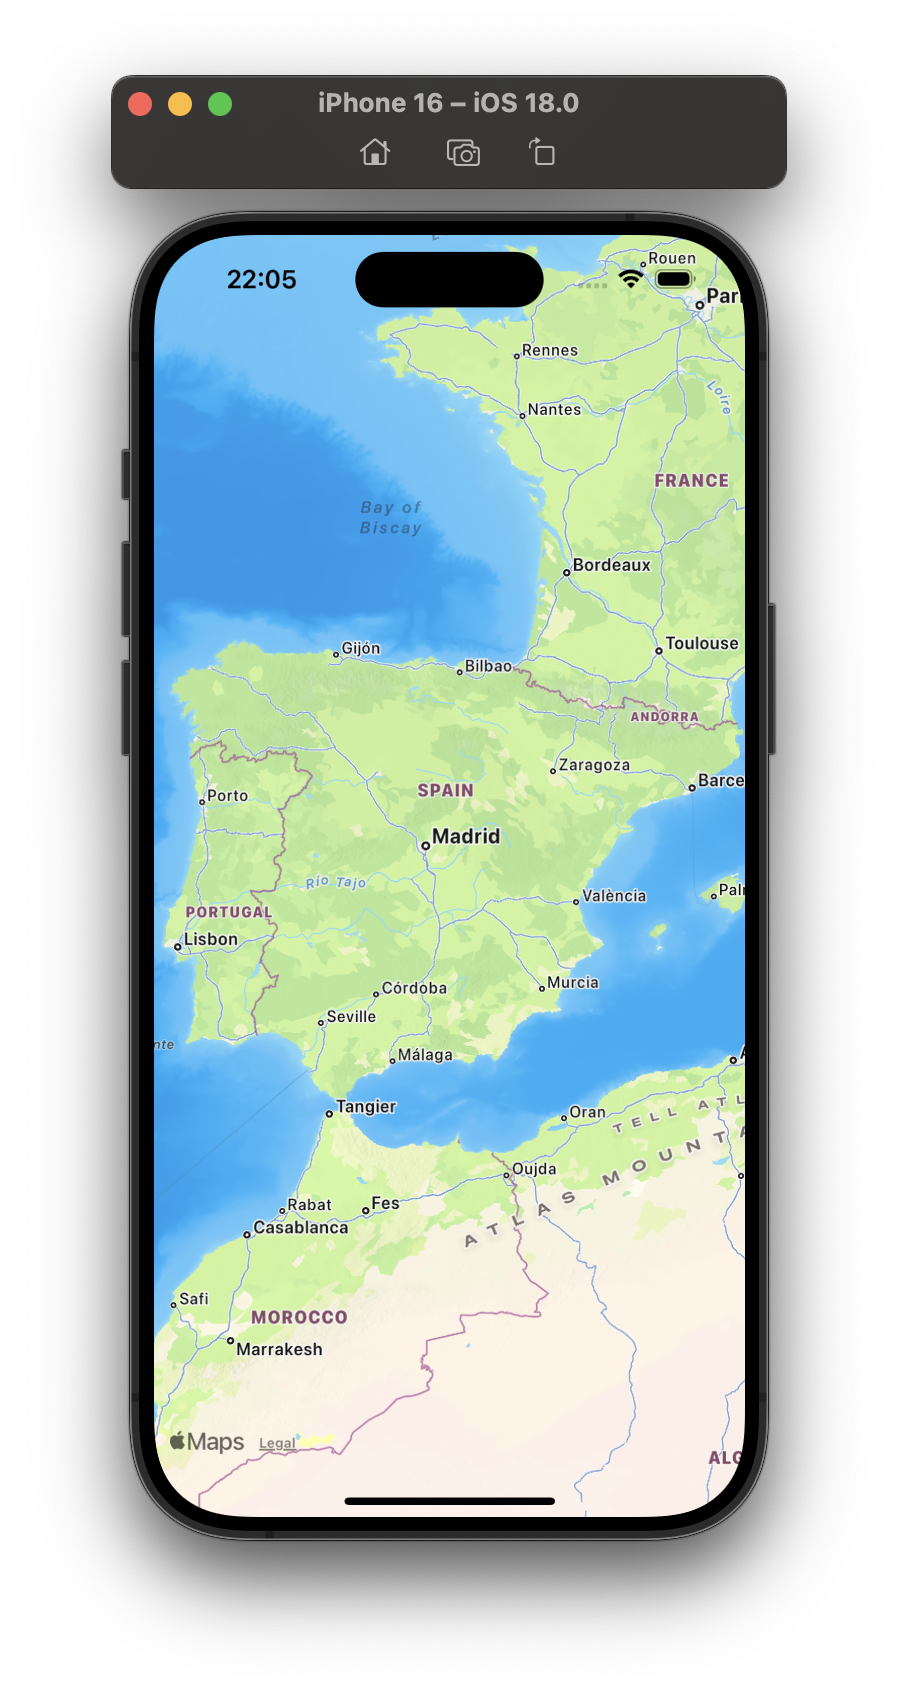
The simplest way to display a map in SwiftUI is by using the Map view.
import SwiftUI
import MapKit

struct ContentView: View {

    @State var position: MapCameraPosition = .automatic

    var body: some View {
        Map(position: $position)
    }
}

#Preview {
    ContentView()
}
Adding Annotations to the Map
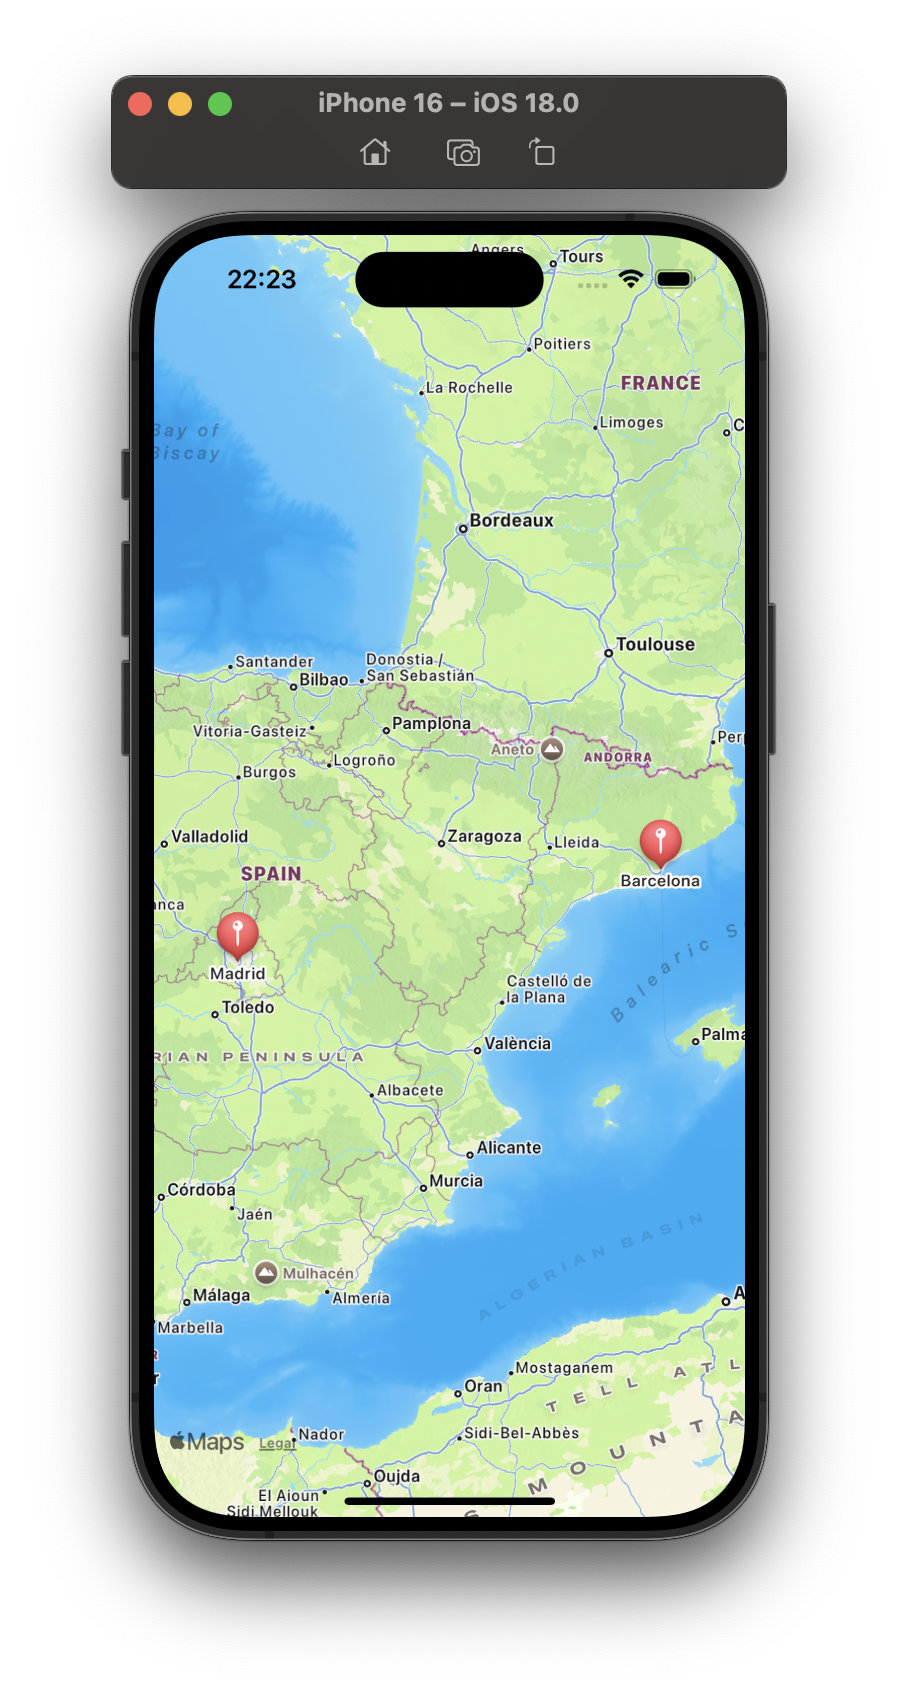
We can add annotations to our map to mark specific locations, like landmarks or points of interest. SwiftUI allows us to use the Mark view to customize the appearance of these markers.
Map(position: $position) {
    Marker("Barcelona", coordinate: CLLocationCoordinate2D(latitude: 41.3874, longitude: 2.1686))
    Marker("Madrid", coordinate: CLLocationCoordinate2D(latitude: 40.4167, longitude: -3.7033))
}
Tracking User Location
To display the user's current location on the map, we need to request permission to access their location data. This can be done using the CLLocationManager in combination with SwiftUI’s Map view.
To manage this let's create LocationManager, this object will ask for user permission and start location updates, so when the user moves around, we'll get the new location coordinates.
import CoreLocation

@Observable
class LocationManager: NSObject, CLLocationManagerDelegate {

    private var locationManager = CLLocationManager()

    override init() {
        super.init()
        locationManager.delegate = self
        locationManager.requestWhenInUseAuthorization()
        locationManager.startUpdatingLocation()
    }

    func locationManagerDidChangeAuthorization(_ manager: CLLocationManager) {
        switch manager.authorizationStatus {
        case .authorizedAlways, .authorizedWhenInUse:
            print("Autorized")
        case .notDetermined, .denied, .restricted:
            print("Not authorized")
        @unknown default:
            print("Unknown")
        }
    }

    func locationManager(_ manager: CLLocationManager, didUpdateLocations locations: [CLLocation]) {
        let currentUserLocation = locations.first?.coordinate
    }
}
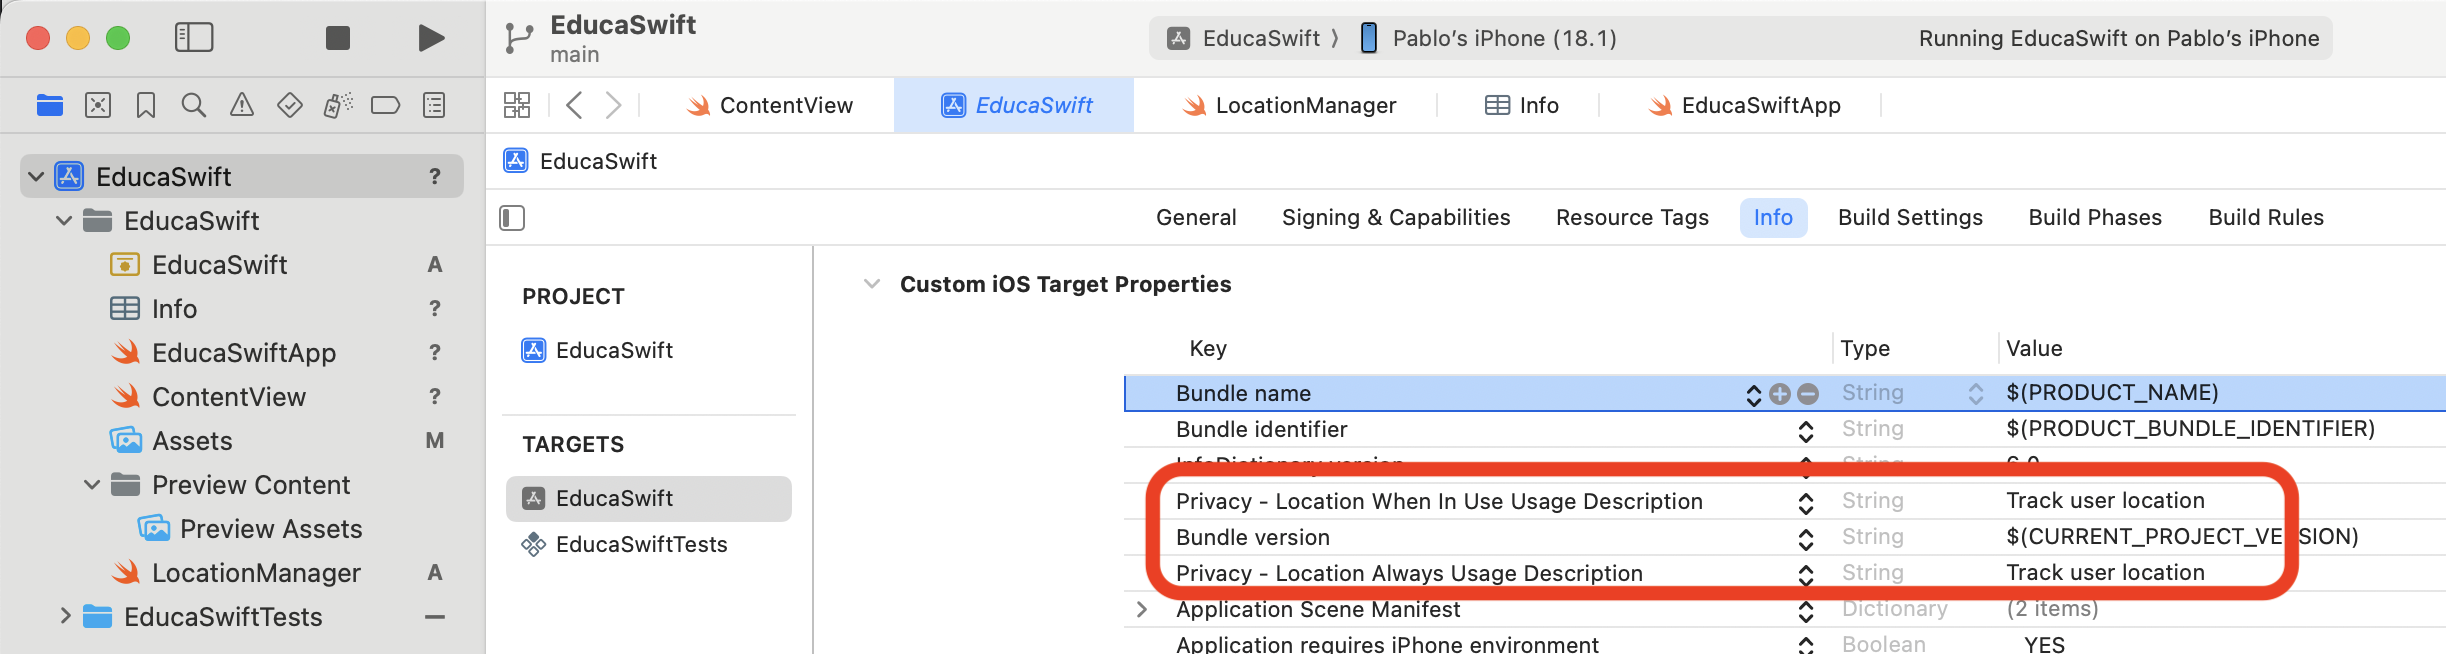
You also need to add the description for the location usage in the info.plist file:
Displaying User Location on the Map
Once location permission is granted, we can use a UserAnnotation marker.
Map(position: $position) {
    UserAnnotation()
    Marker("Barcelona", coordinate: CLLocationCoordinate2D(latitude: 41.3874, longitude: 2.1686))
    Marker("Madrid", coordinate: CLLocationCoordinate2D(latitude: 40.4167, longitude: -3.7033))
}
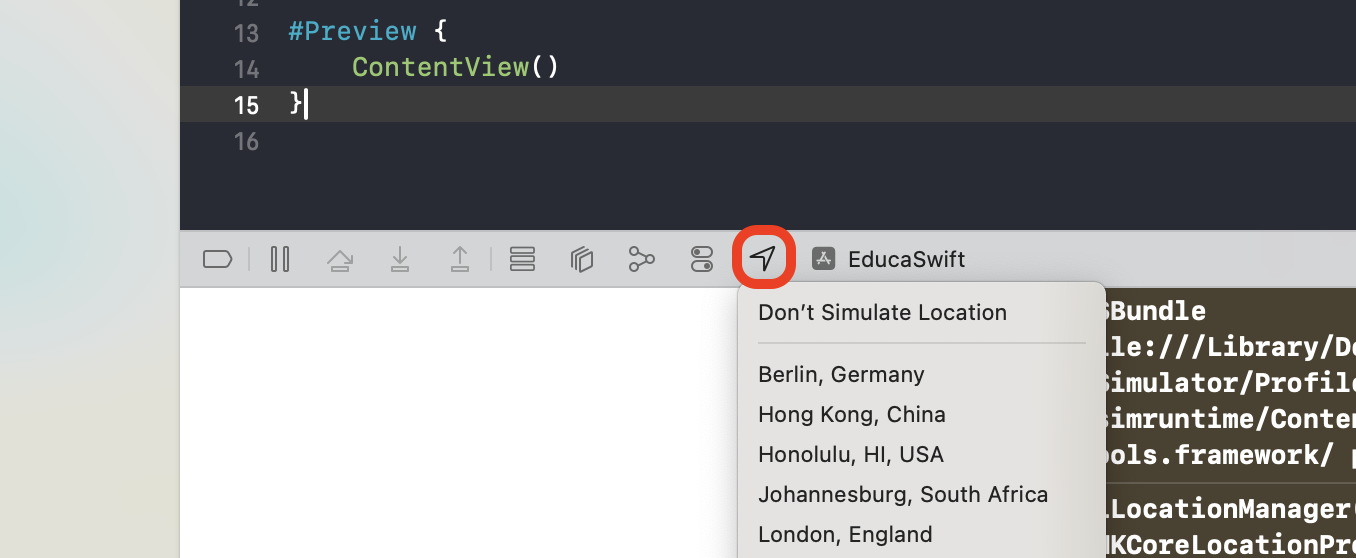
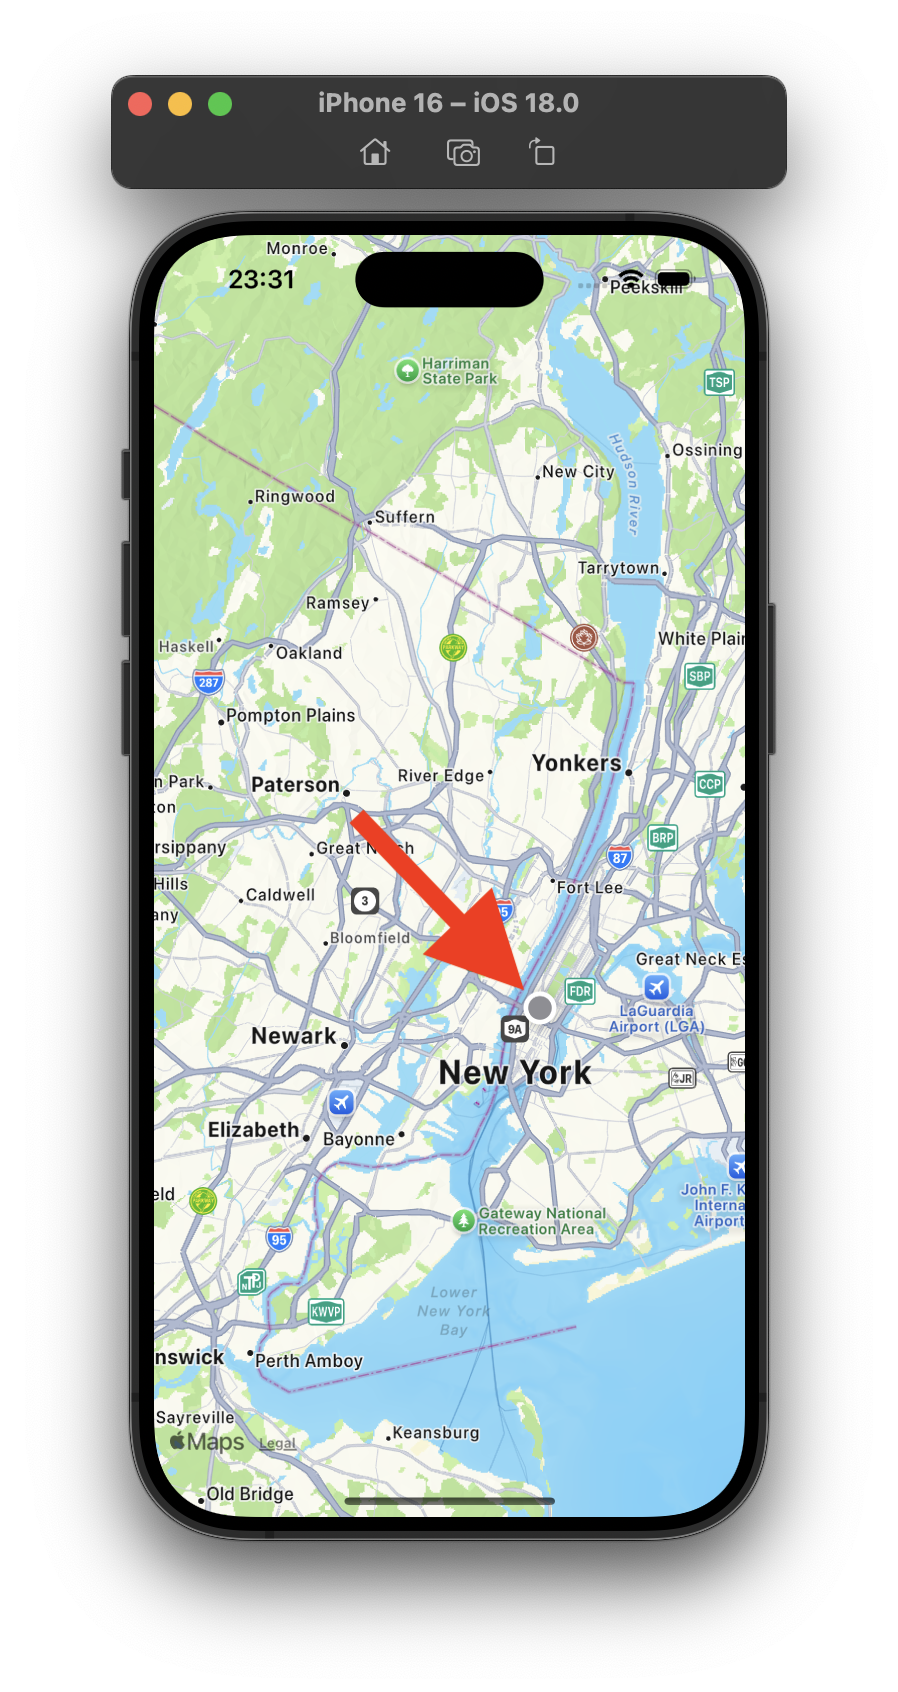
You can simulate a location in the simulator.
Be the first to comment