Remote push notifications are messages sent from a server to a specific device through Apple Push Notification service (APNs). With APNs, you can send targeted notifications that are displayed as banners, alerts, or badges on the device.
Creating APNs certificates
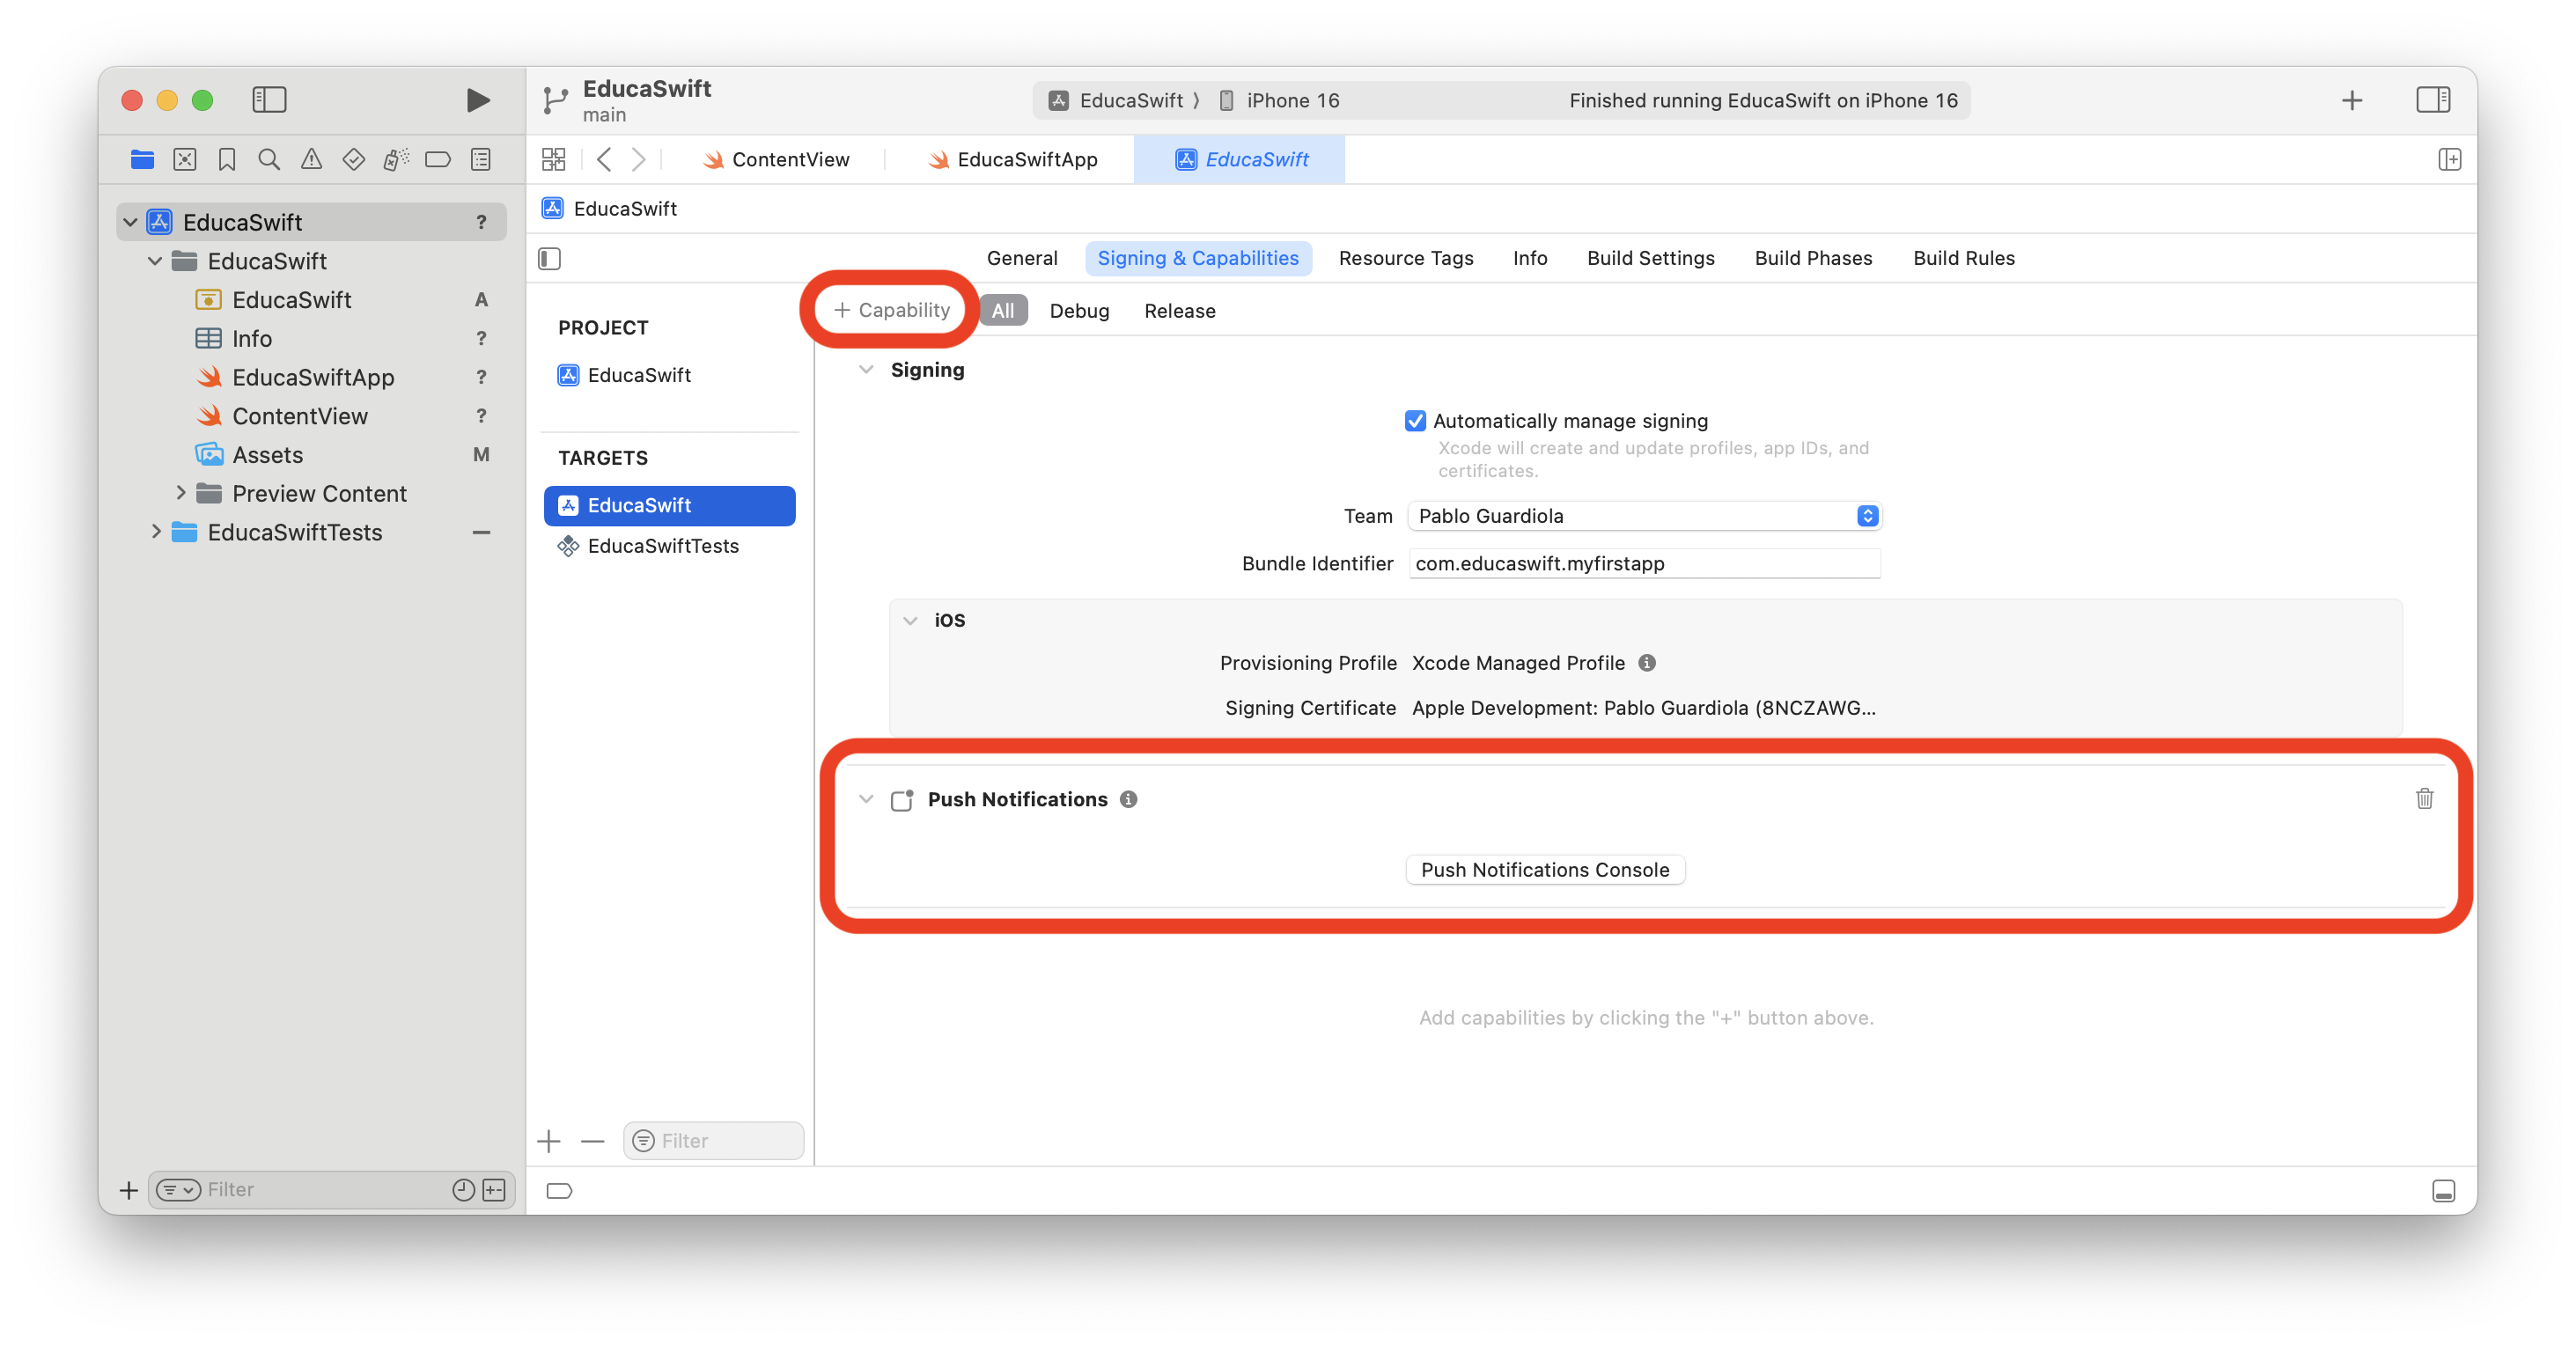
In order to setup and use remote push notifications, you need to enable Push Notifications capability when creating your App's identifier and certificates. Check how to setup your App certificates here.
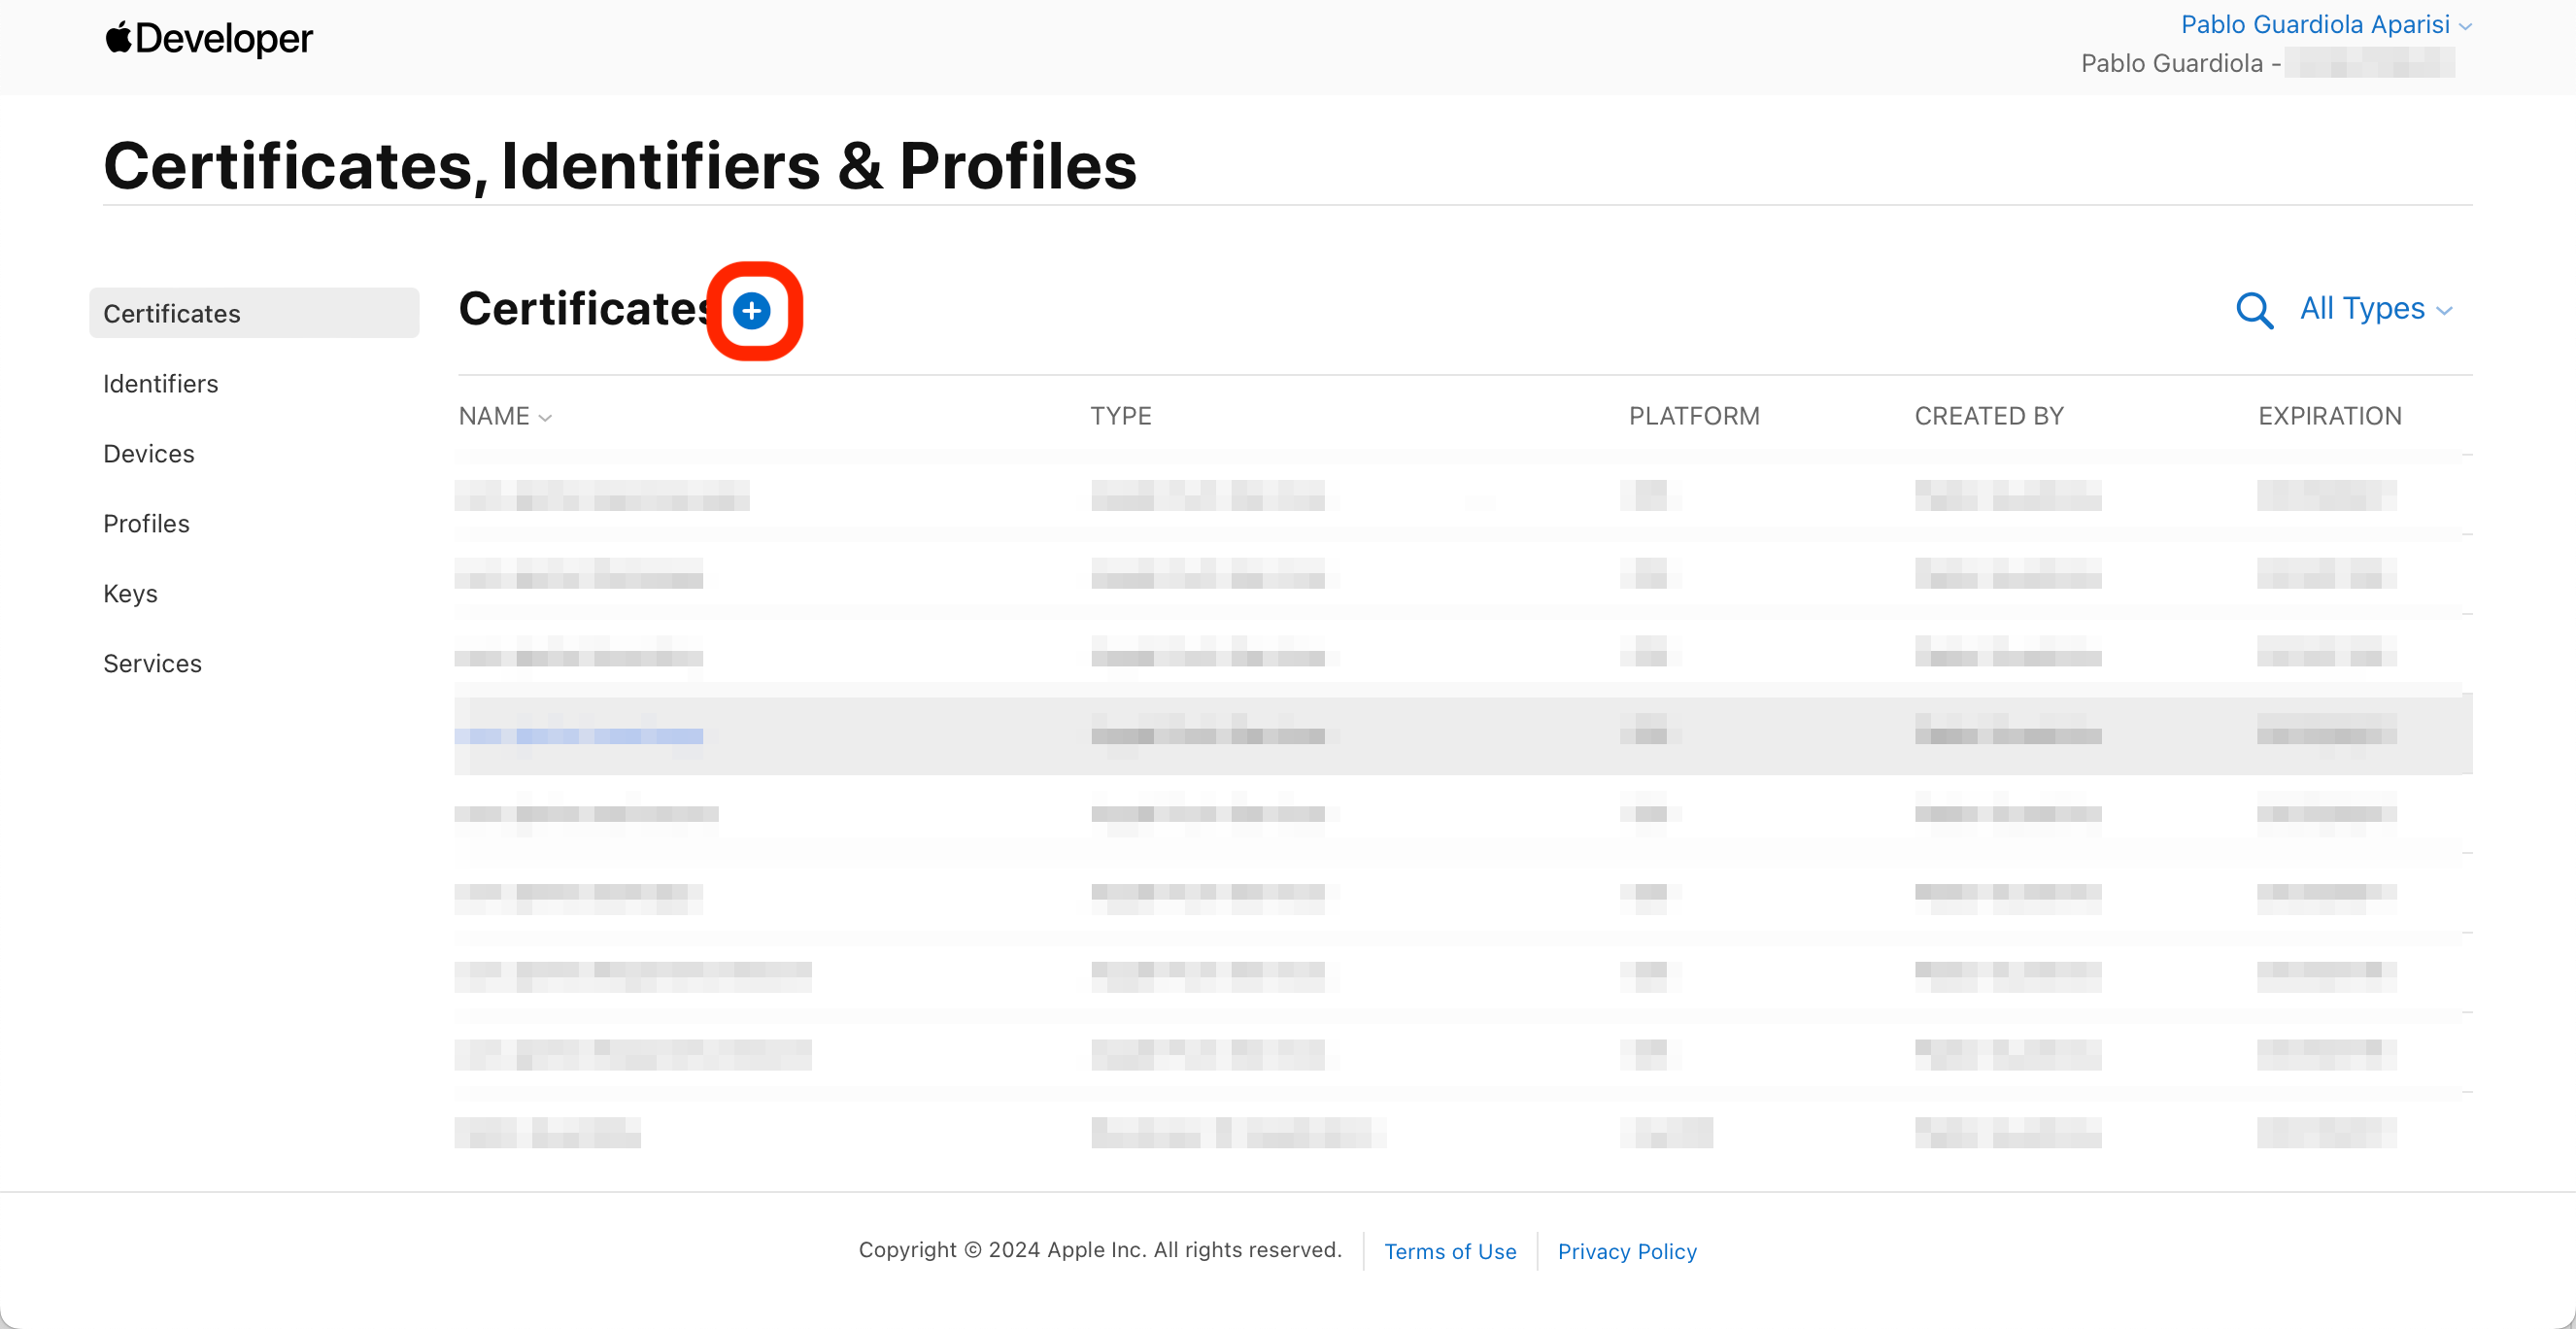
Once you've created your App's certificates, then you need to create the APNs certificate. You can do this on yhe Certificates section.
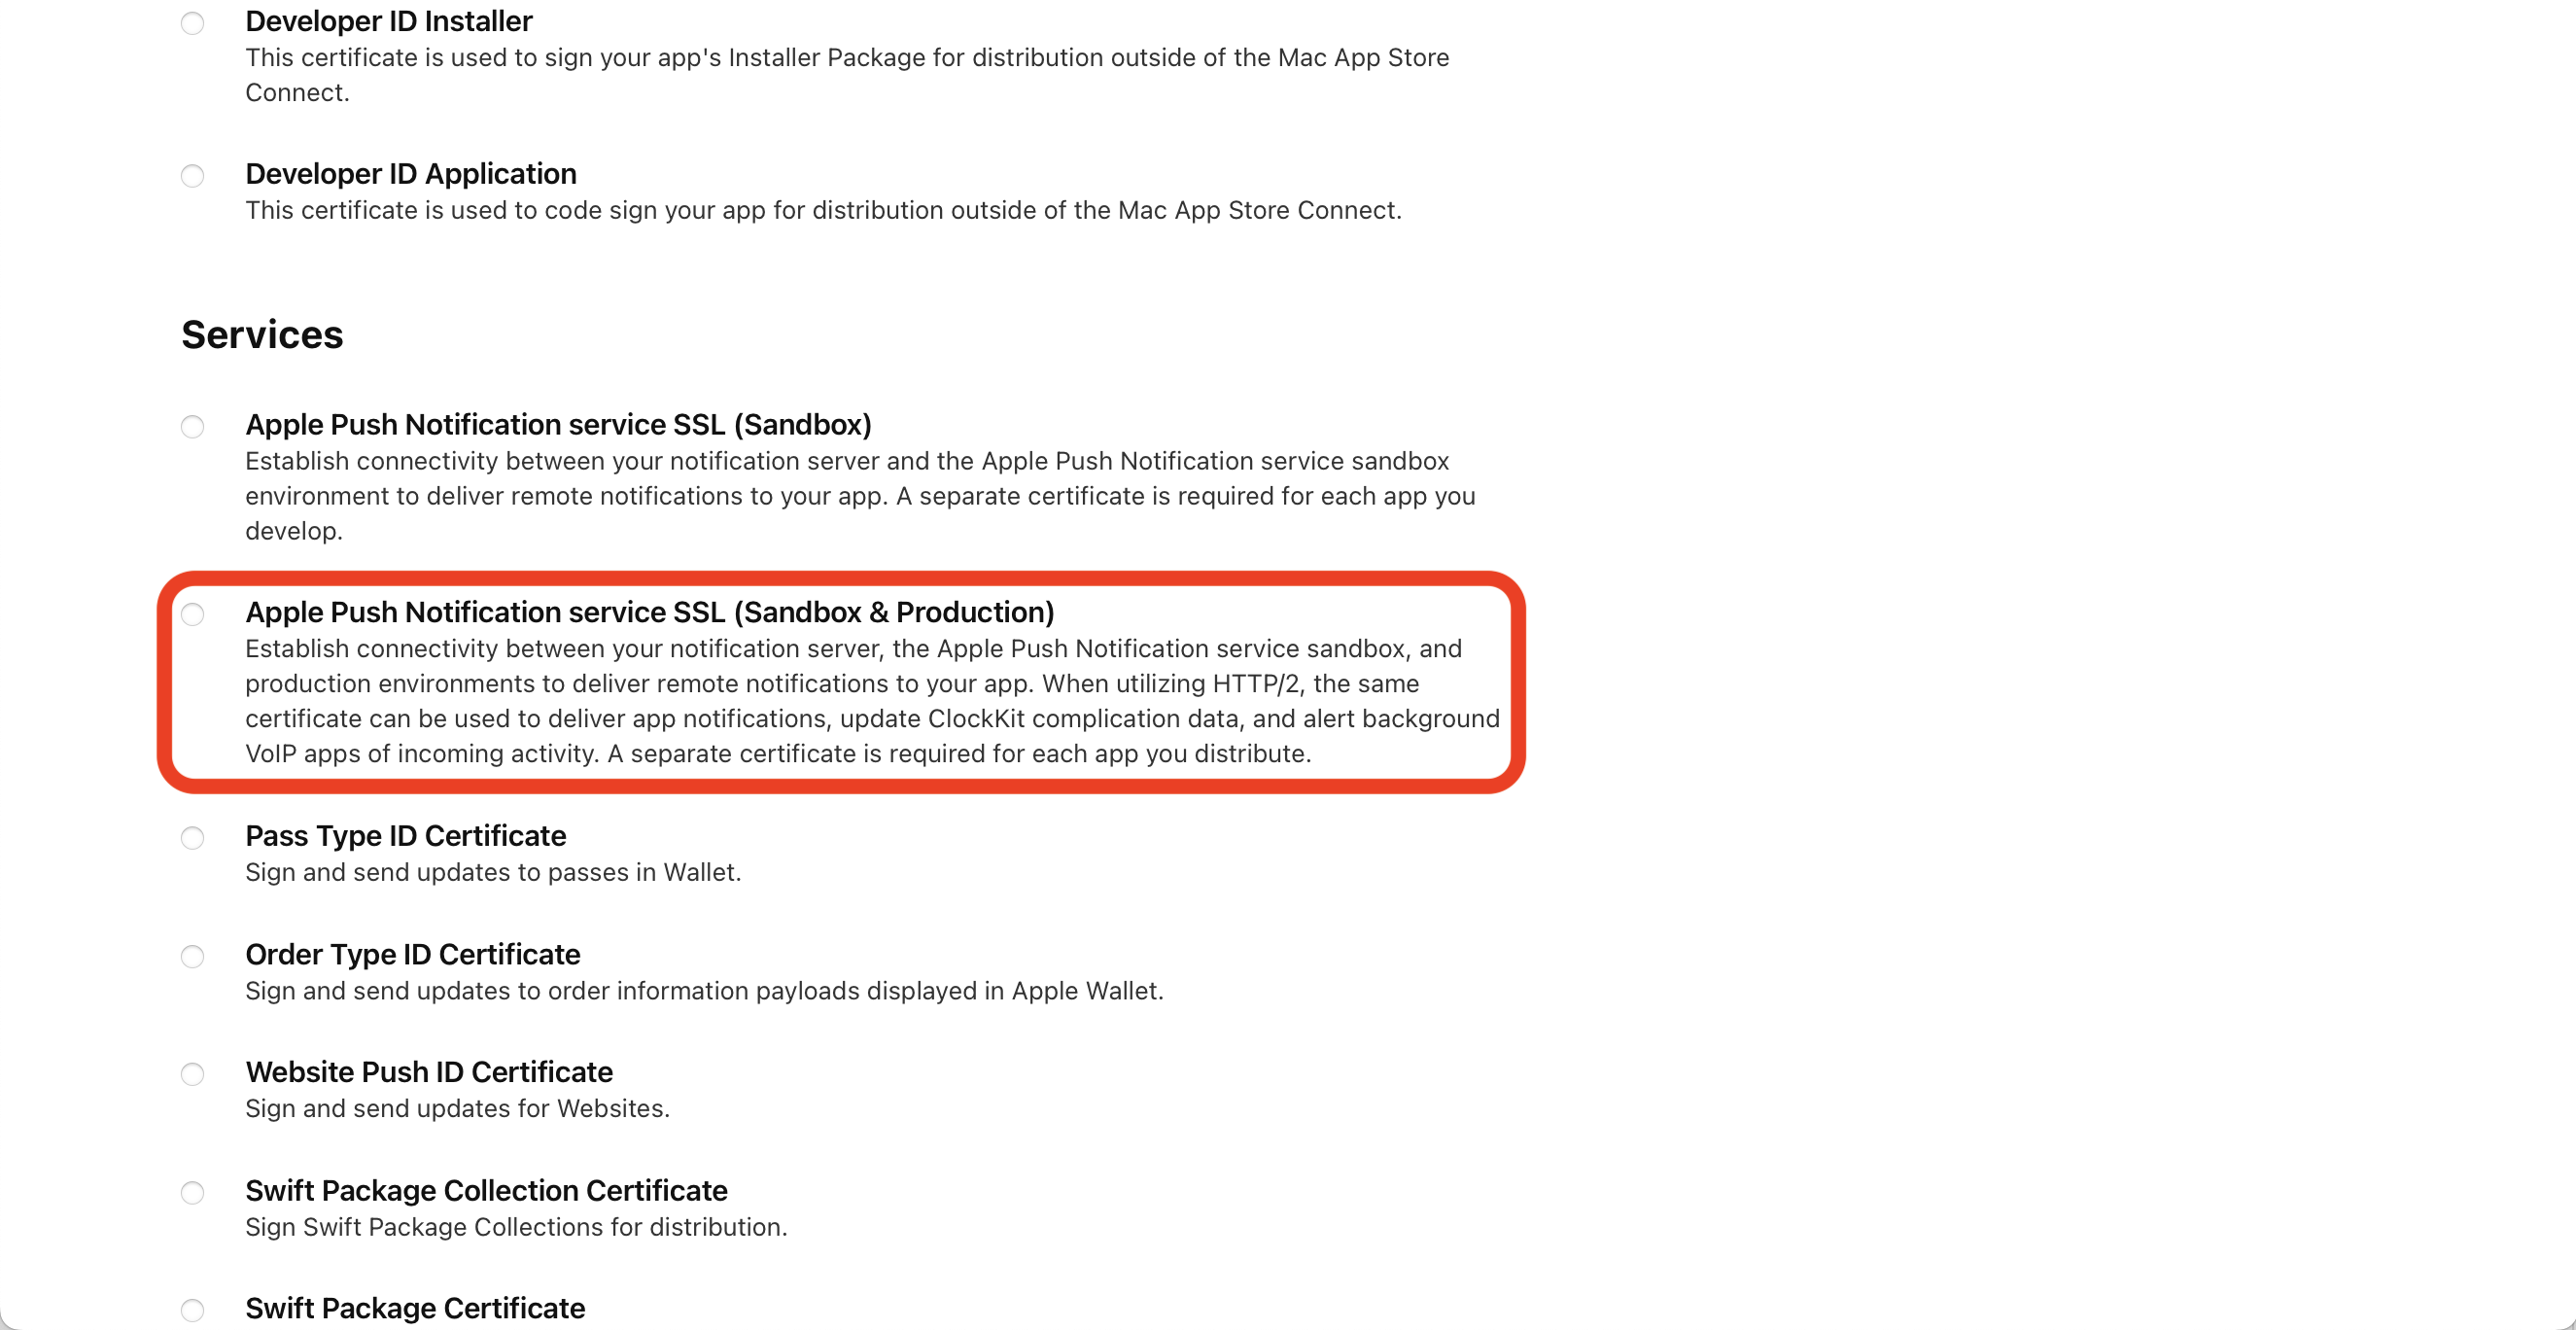
Select the type of the certificate, the same one can be used for Production and Development.
Select your App's Identifier.

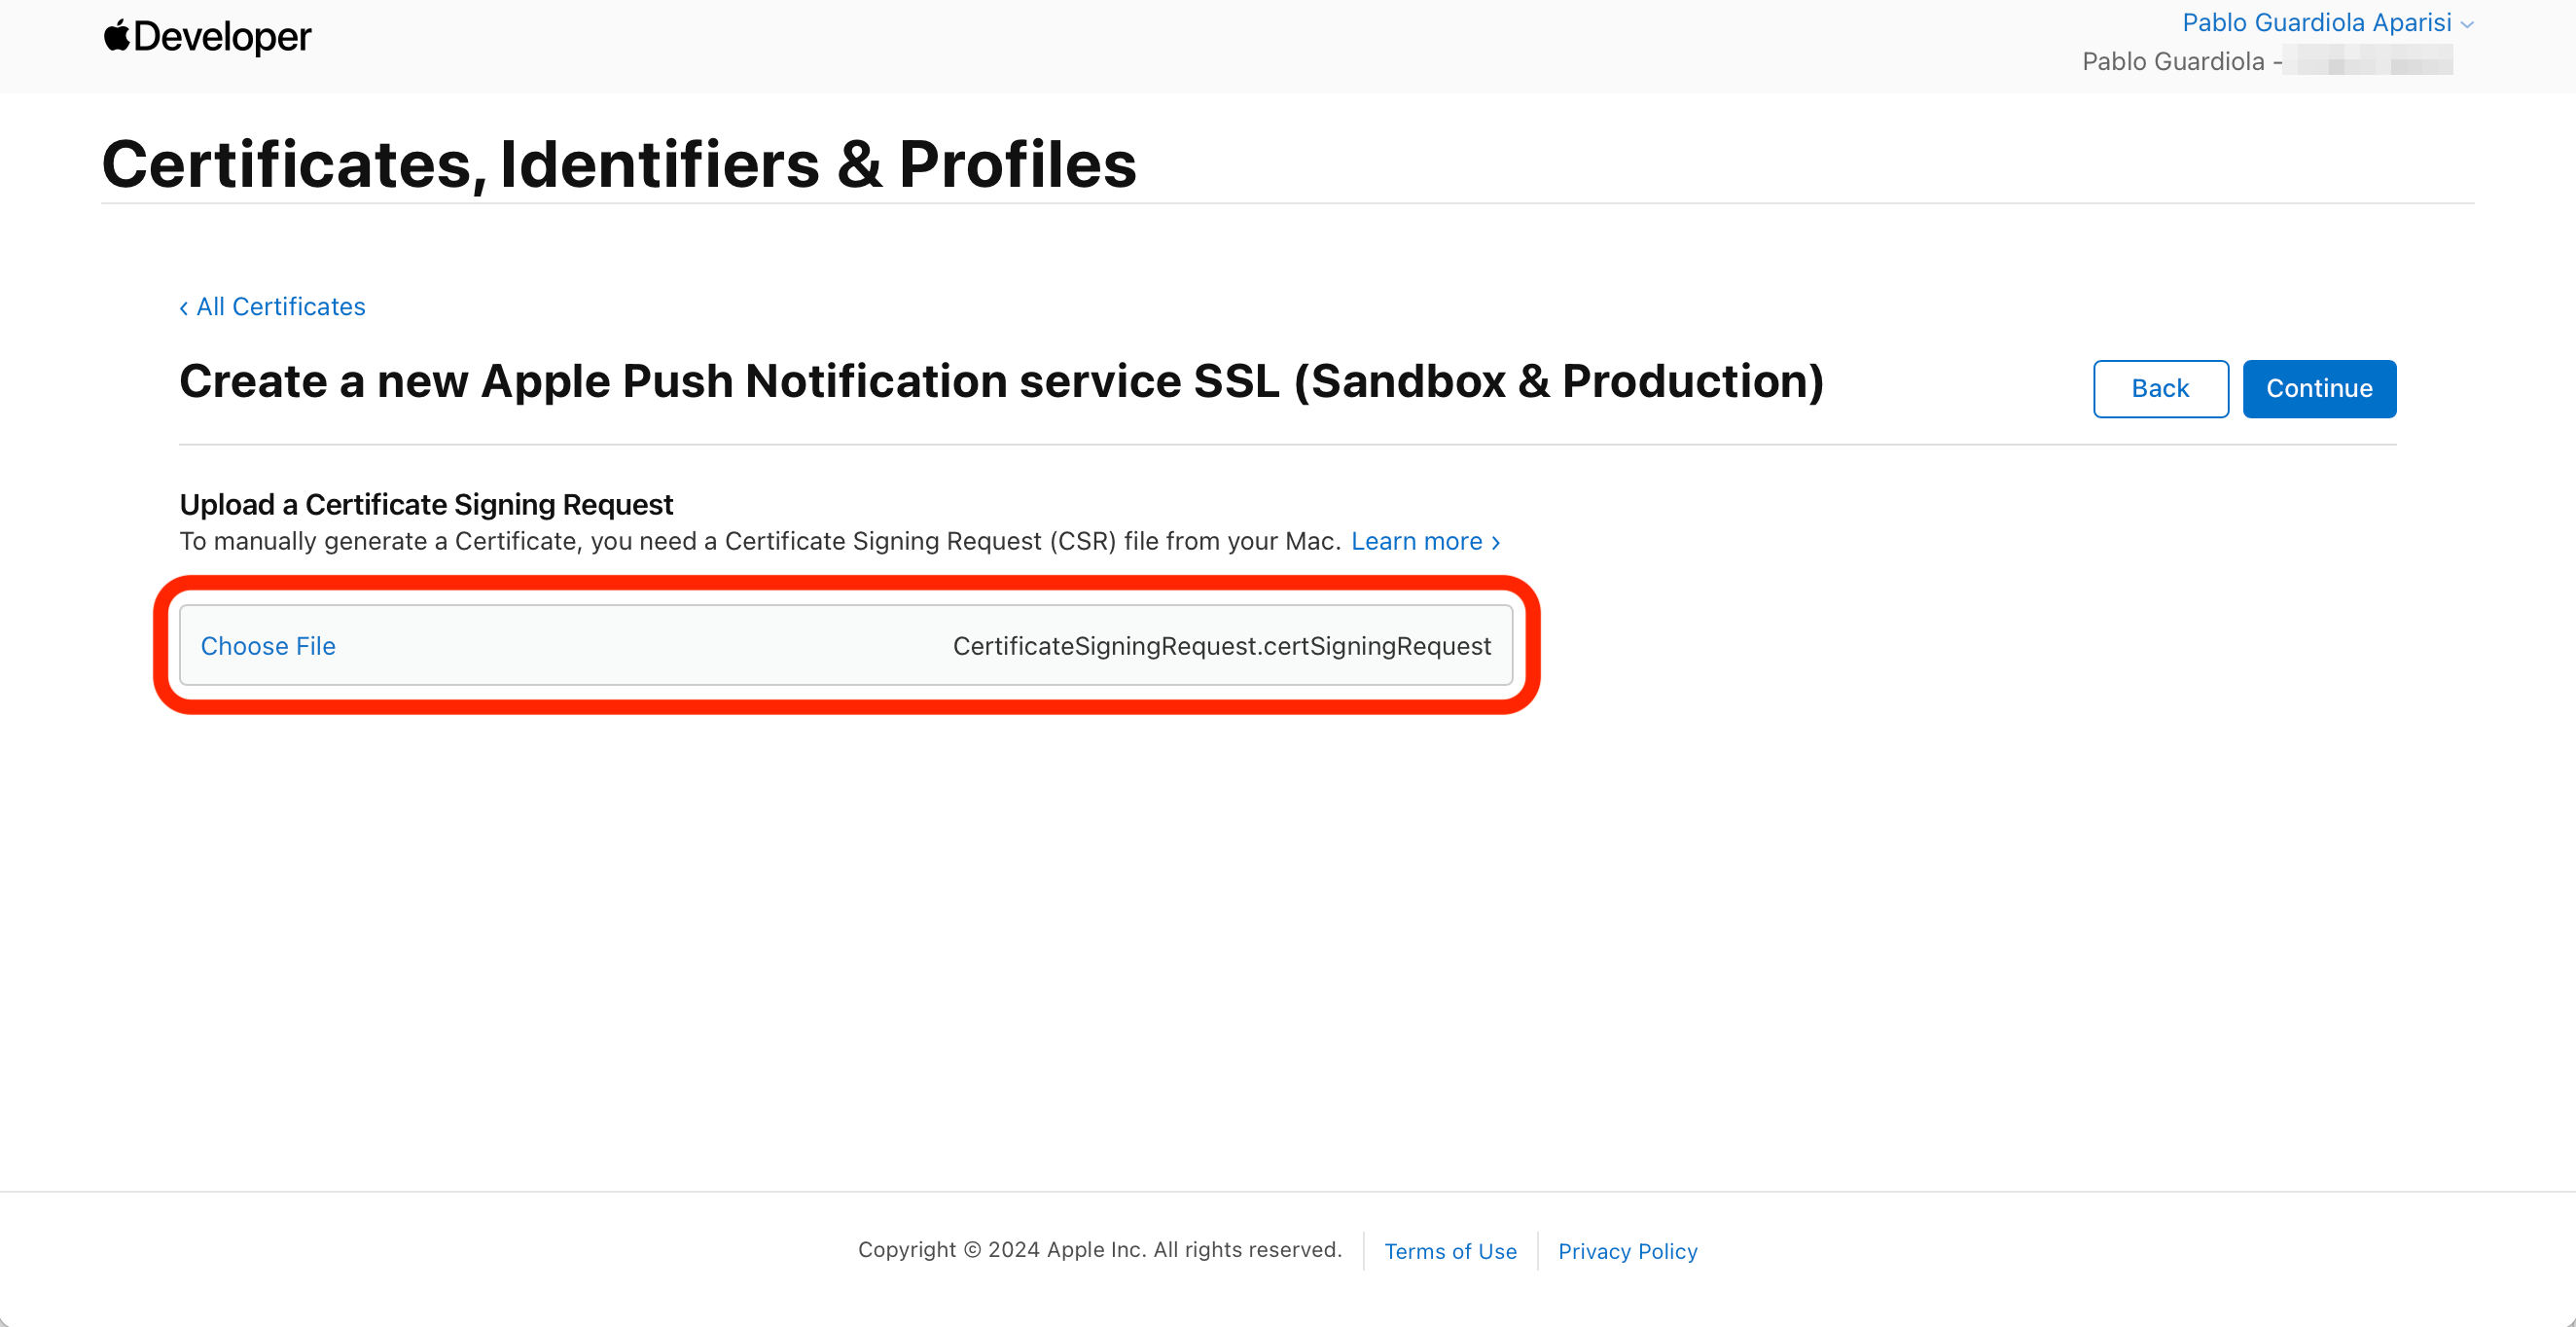
Select the Certificate Signing Request you created for creating your App's certificate (or just create a new one with KeyChain App).
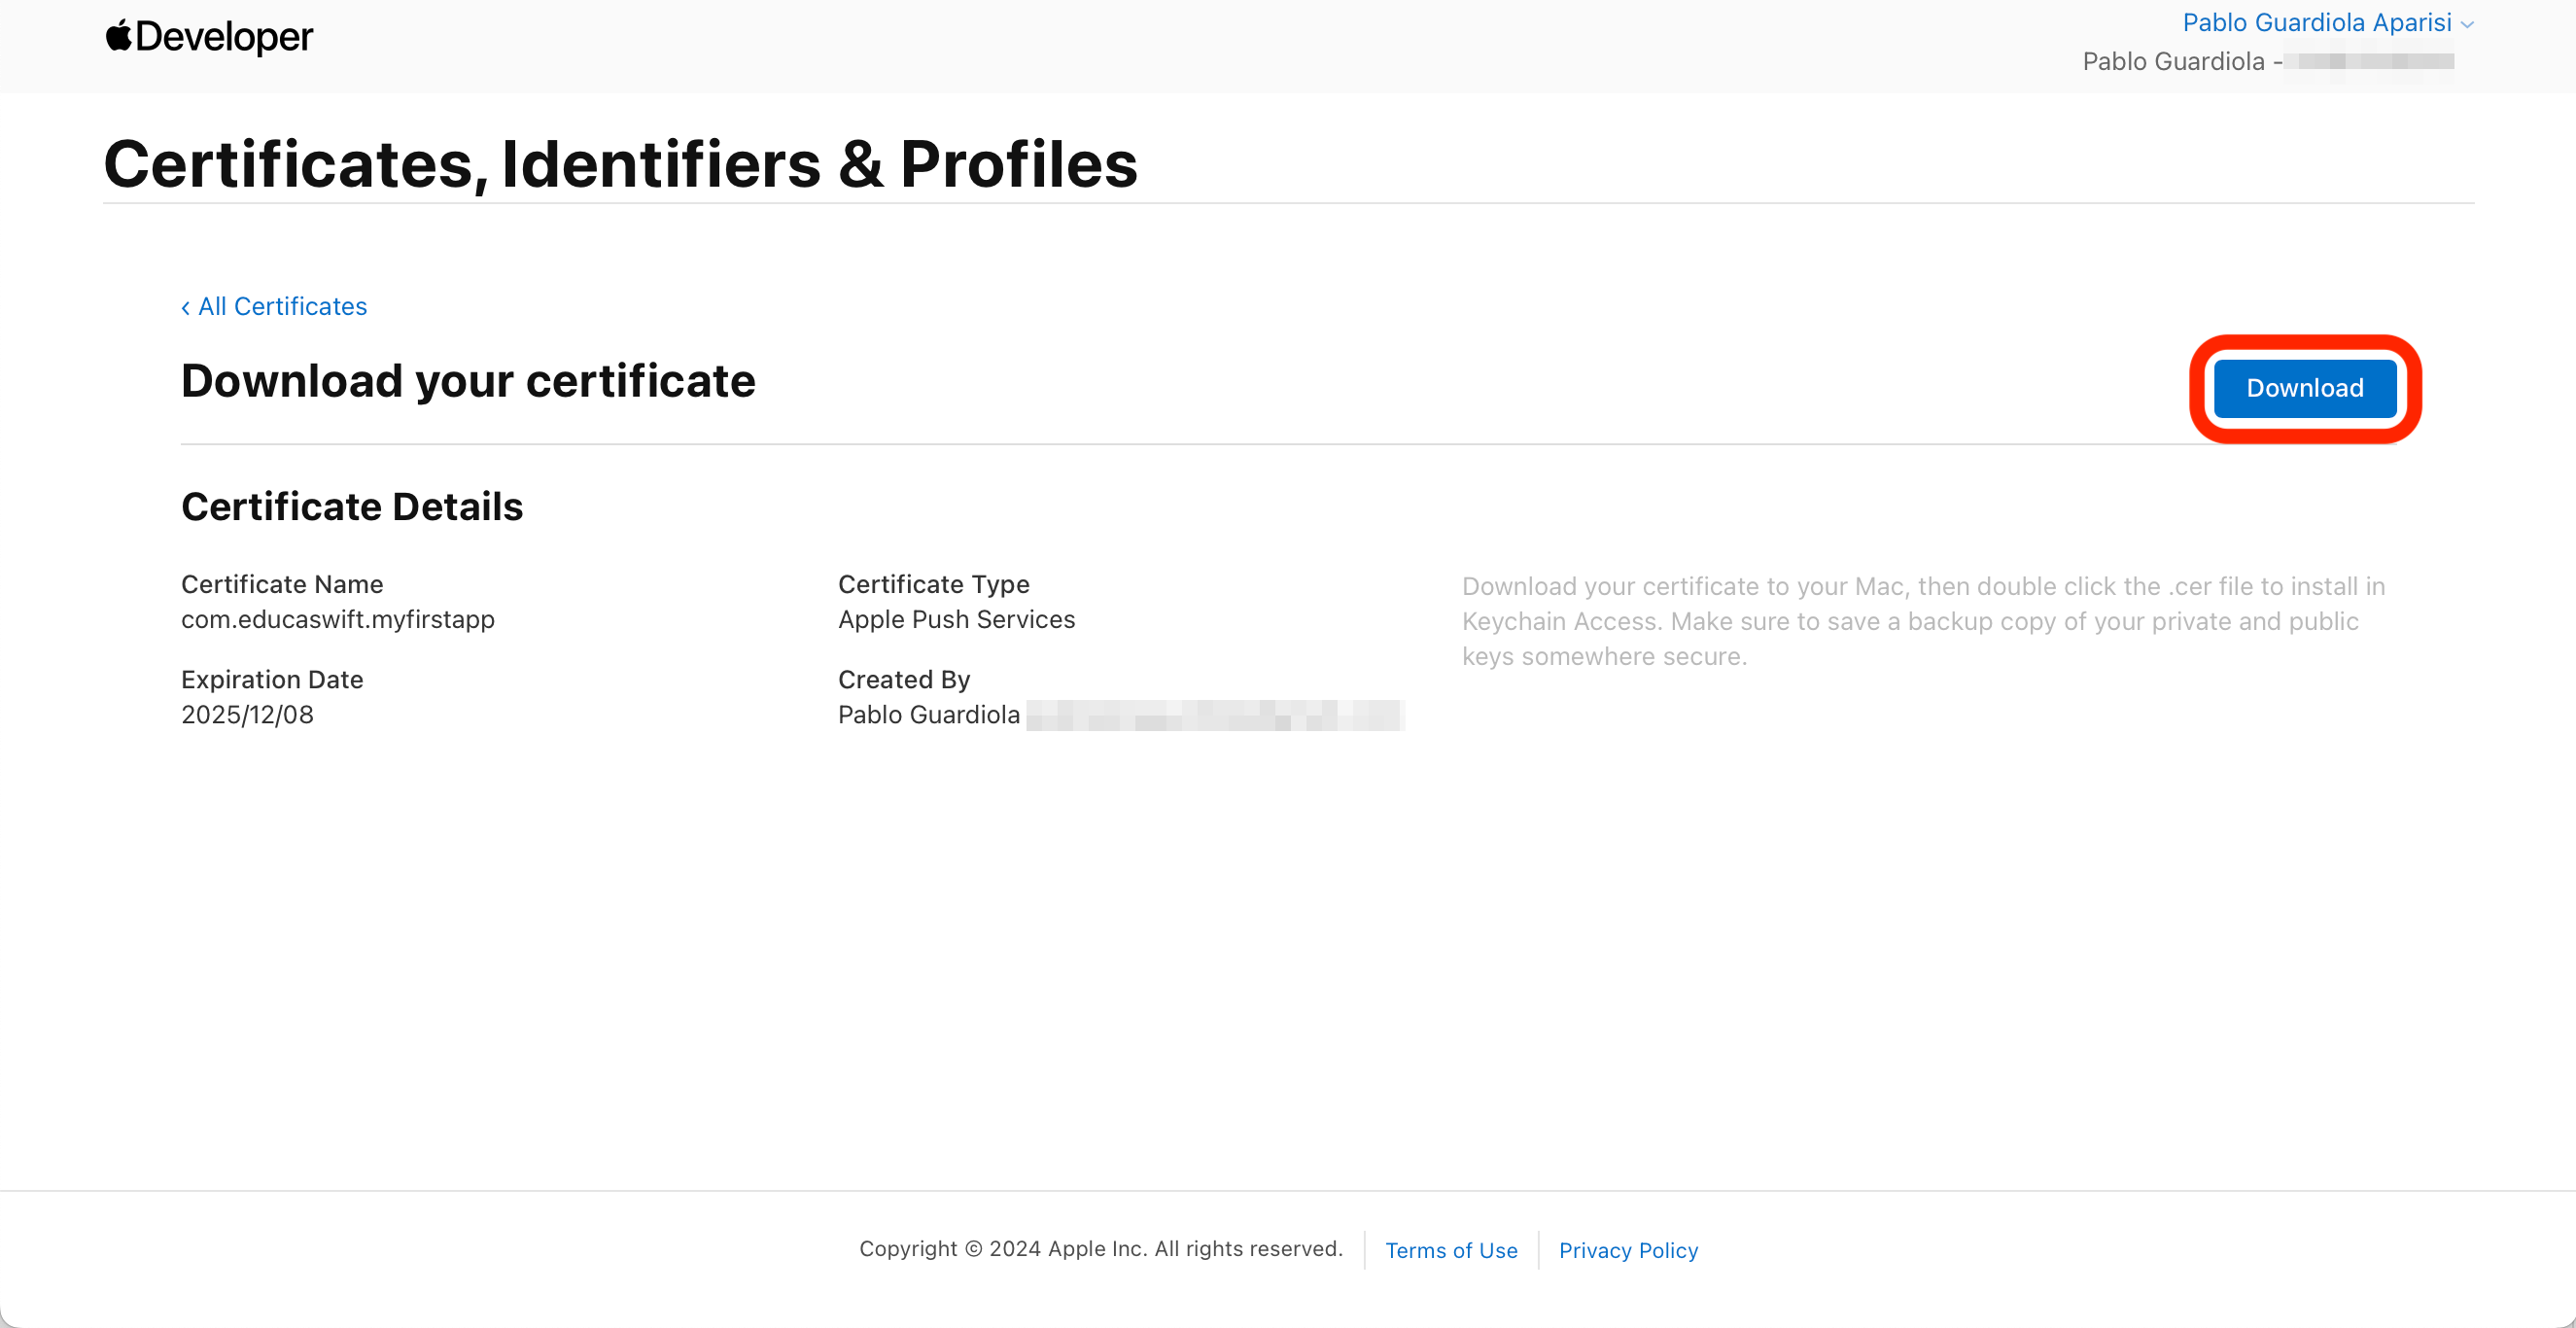
Download your new APNs certificate.
Prepare your certificate
In order to allow your server to send notifications to your App, you need to provide the certificate we just created. Depending on the server you're using, you may need to provide this as p12 file or as pem file, so let's see how to create both of them.
After downloading your new certificate, double-click on it to install it in your machine. Then open KeyChain App and find it:
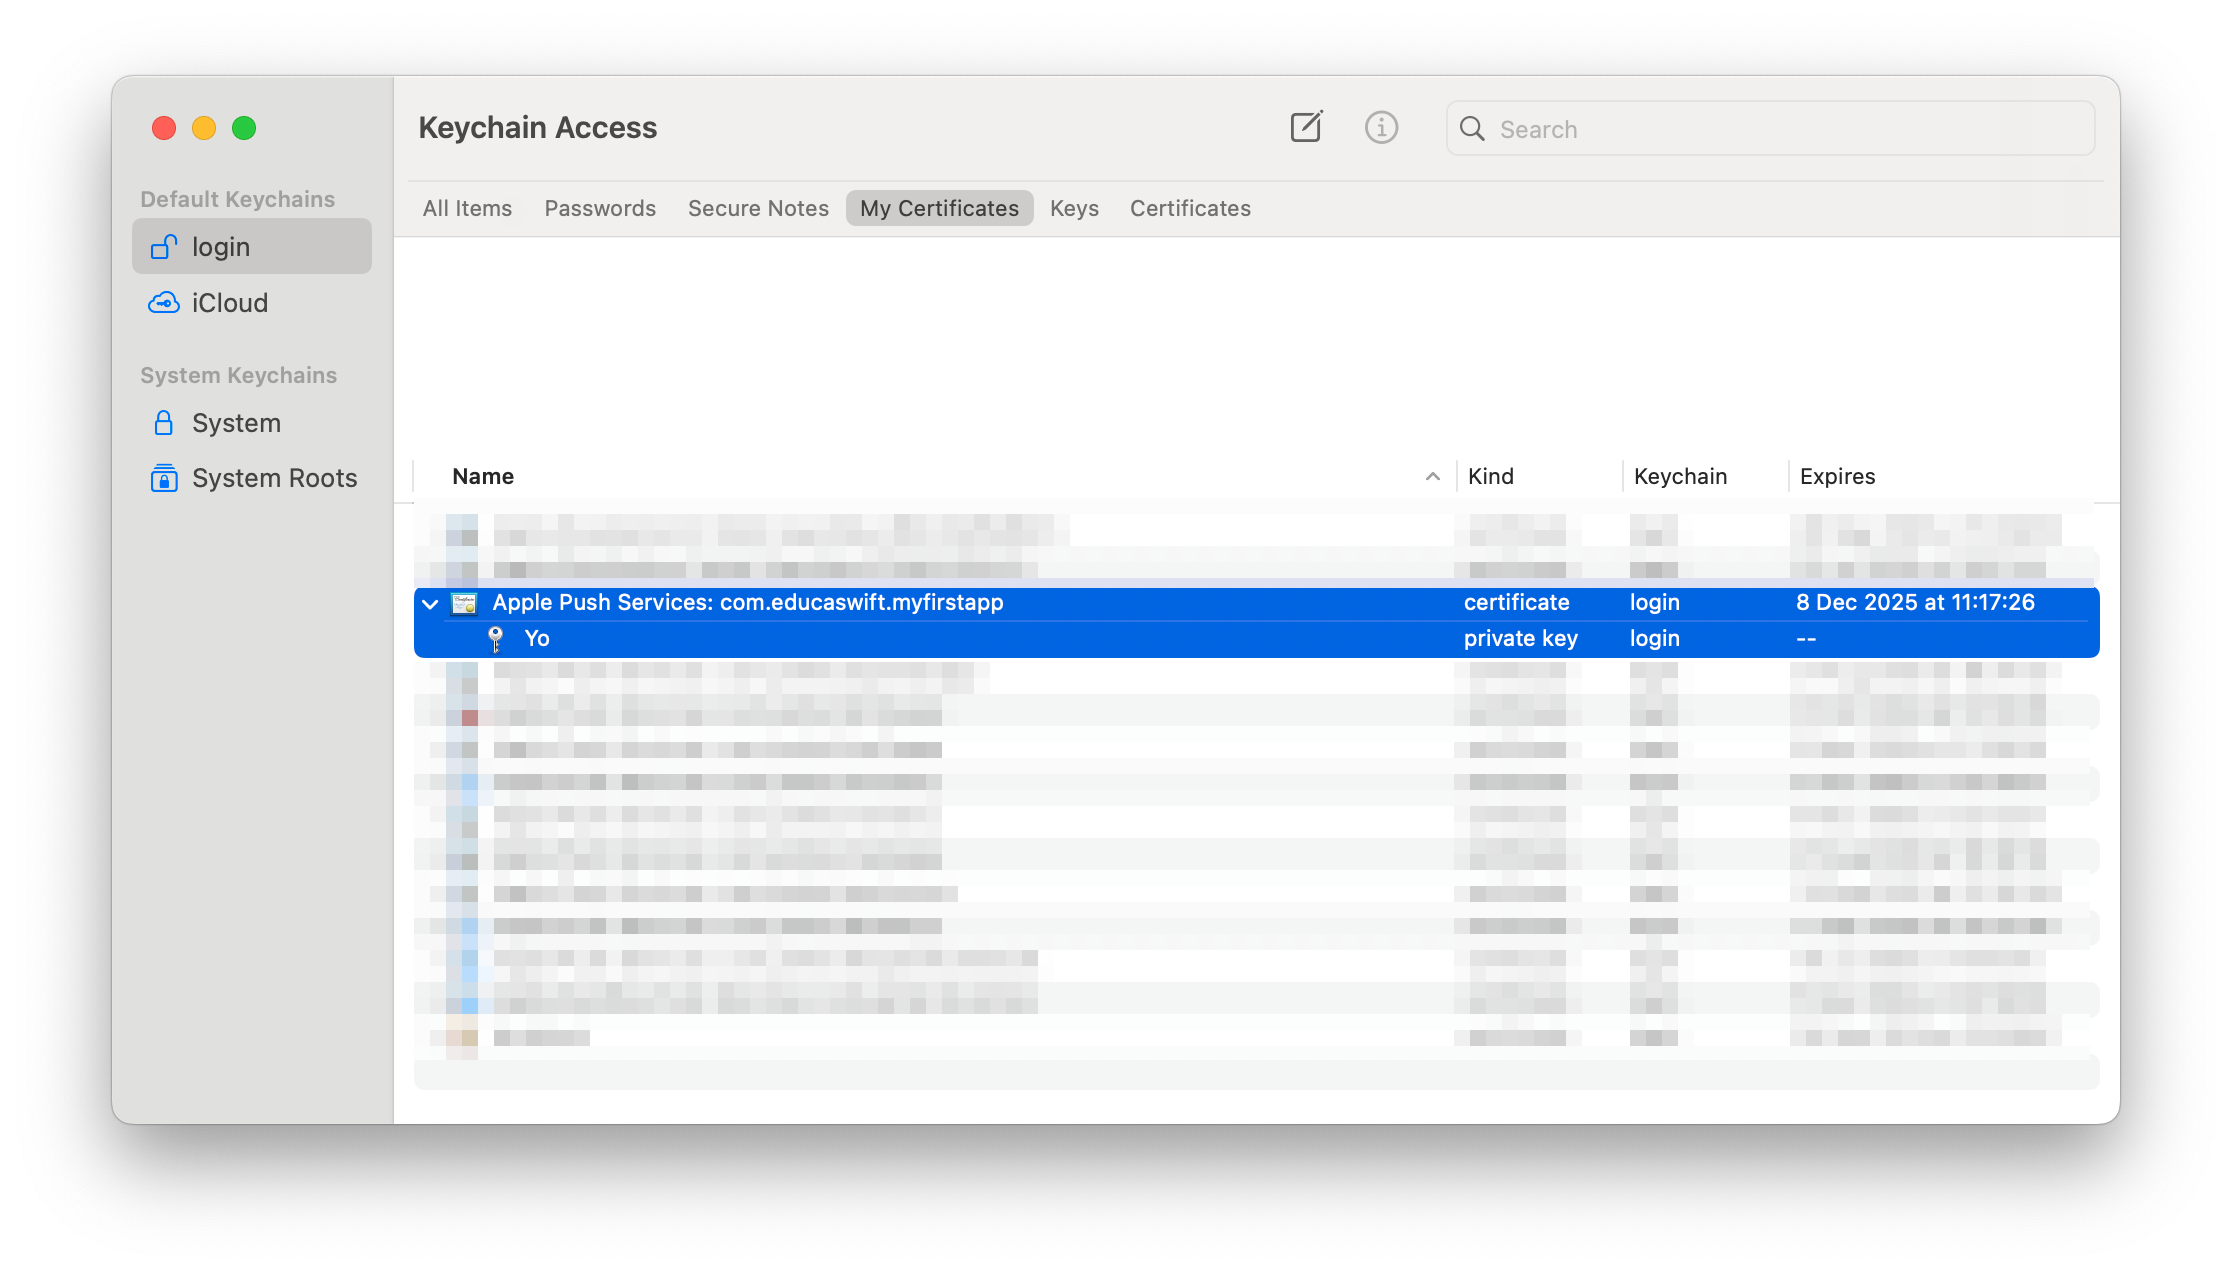
Expand your certificate, select both items and right-click on them to select Export 2 items... option. It will ask you to provide a password (you can leave it empty), and then, it's possible that it will ask you to introduce your Mac user password.

The pem version of our certificate will be created from the p12 version. We just need to execute a command in the Terminal, introducing the password that we specified for our p12 file (press Enter for empy password).
openssl pkcs12 -in Certificates.p12 -out certificate.pem -noenc -legacy
Remote Notification token
When Remote Notifications is setup in our App, a token will be generated on the first launch, this token identifies not only the device, but the specific App installation, meaning that if we re-install the App, a new different token will be generated. There are other unlikely cases that will generate a new token, so it's recomended to send every new generated token to your server.
We can add an UIApplicationDelegate method to our AppDelegate class in order to retrieve the newly generated token:
func application(
    _ application: UIApplication,
    didRegisterForRemoteNotificationsWithDeviceToken deviceToken: Data
) {
    let token = deviceToken.map { String(format: "%02.2hhx", $0) }.joined()

    print("New PN Token: \(token)")
}
Push Notification permission
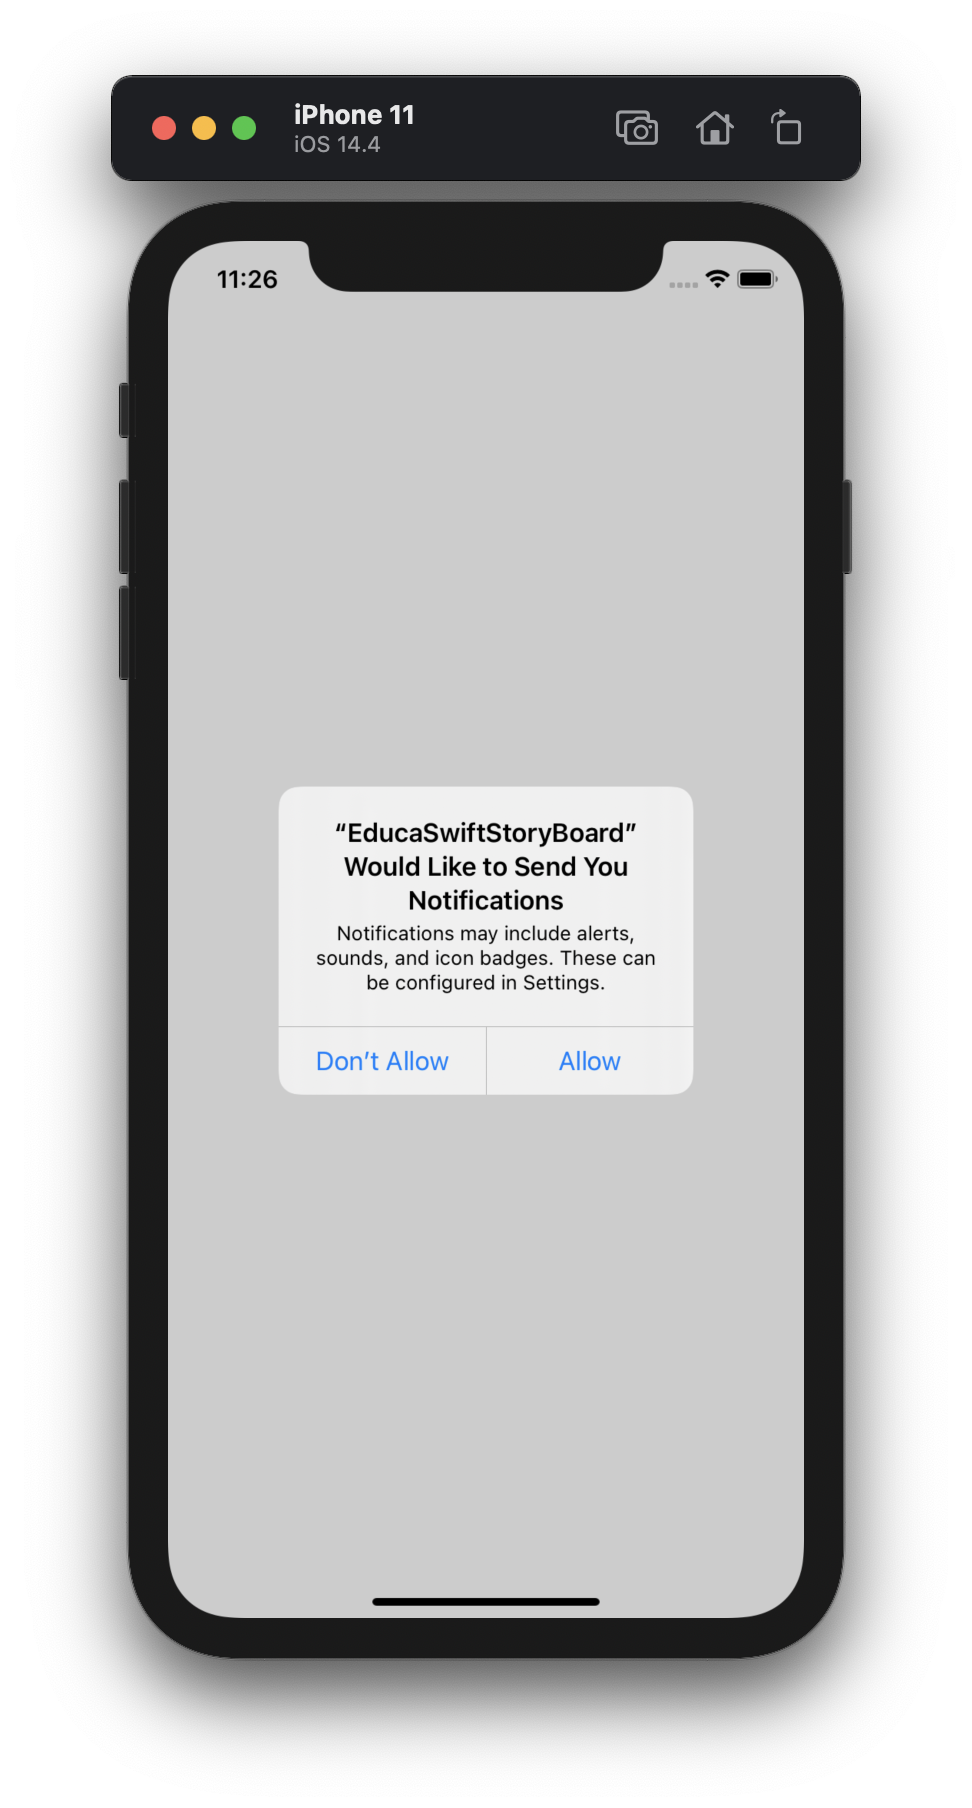
To show the notifications to the user, it is necessary to ask for his permission. We can ask for permission at any point in our code using UNUserNotificationCenter.
This request is made using the UserNotifications framework, where we include the options alert, badge, and sound. This framework handles showing the necessary UI to the user to accept these permissions. Once the user responds, the closure will be executed.
import UserNotifications

UNUserNotificationCenter.current().requestAuthorization(options: [.alert, .badge, .sound]) { success, error in
    if success {
        print("Permissions granted")
    } else if let error = error {
        print(error.localizedDescription)
    }
}
Sending Remote Push Notifications
To send push notifications to an iOS device, you can choose from several server-side options. Here are some of the most commonly used methods:
- Apple Push Notification service (APNs)
- Firebase Cloud Messaging (FCM)
- Amazon Simple Notification Service (SNS)
- OneSignal
- Pusher Beams
- Custom Server with APNs HTTP/2 API
Each of these options has its own strengths, so the right choice will depend on your app's needs, your development resources, and the level of customization and analytics you require.
| Service | Cross-Platform | Customization | Analytics & Segmentation |
|---|---|---|---|
| APNs | No | High | No |
| Firebase Cloud Messaging | Yes | Moderate | Limited |
| Amazon SNS | Yes | Moderate | Limited |
| OneSignal | Yes | High | Yes |
| Pusher Beams | No | Moderate | No |
| Custom Server with APNs | No | Full | No |
At the end, in order to deliver the notification to the device, Apple's service should receive the notification's data in a JSON format, some of these services will build that JSON for you, but if you decide to make it custom, this is the expected format:
{
    "aps": {
        "alert": {
            "title": "EducaSwift",
            "subtitle": "Remote Notifications",
            "body": "This is a Remote Push Notification test.",
        },
        "badge": 12
    },
    "custom_field": 1,
    "another_custom_field": 2
}
Testing Remote Push Notifications
You can test Push Notifications in the simulator just creating an .apns file that contains the App bundle identifier, and dragging that file to the simulator.
{
    "Simulator Target Bundle": "com.educaswift.myfirstapp",
    "aps": {
        "alert": {
            "title": "EducaSwift",
            "subtitle": "Remote Notifications",
            "body": "This is a Remote Push Notification test.",
        },
        "badge": 12
    }
}
Displaying the Notification While the App is Open
As you may have noticed, notifications only appear when the App is not in the foreground. But this can be enabled implementing UNUserNotificationCenterDelegate, we can do this in two steps:
Create NotificationDelegate class and implement UNUserNotificationCenterDelegate.
import Foundation
import SwiftUI

class NotificationDelegate: NSObject, UNUserNotificationCenterDelegate {
    func userNotificationCenter(_ center: UNUserNotificationCenter, willPresent notification: UNNotification) async -> UNNotificationPresentationOptions {
        return [.banner, .badge, .sound]
    }
}
Set the delegate from your App main file.
@main
struct EducaSwiftApp: App {

    private var notificDelegate: NotificationDelegate = NotificationDelegate()

    init(){
        UNUserNotificationCenter.current().delegate = notificDelegate
    }

    var body: some Scene {
        WindowGroup {
            ContentView()
        }
    }
}
Be the first to comment